A Step-by-Step Guide to Raising Budgie Chicks
Blake Hall
Before You Start Breeding Budgies
Raising budgerigars, also known as parakeets, is a task that requires patience and careful observation. It is not a quick or simple endeavor. However, for those who undertake it, the memory of tiny chicks emerging from their shells and exploring their nest box tends to stay with them.
Read on to learn all about breeding budgies! Budgerigars, parakeets, or budgies—they’re all the same bird. This guide takes you step-by-step through the process of breeding budgies and caring for the hatchlings.
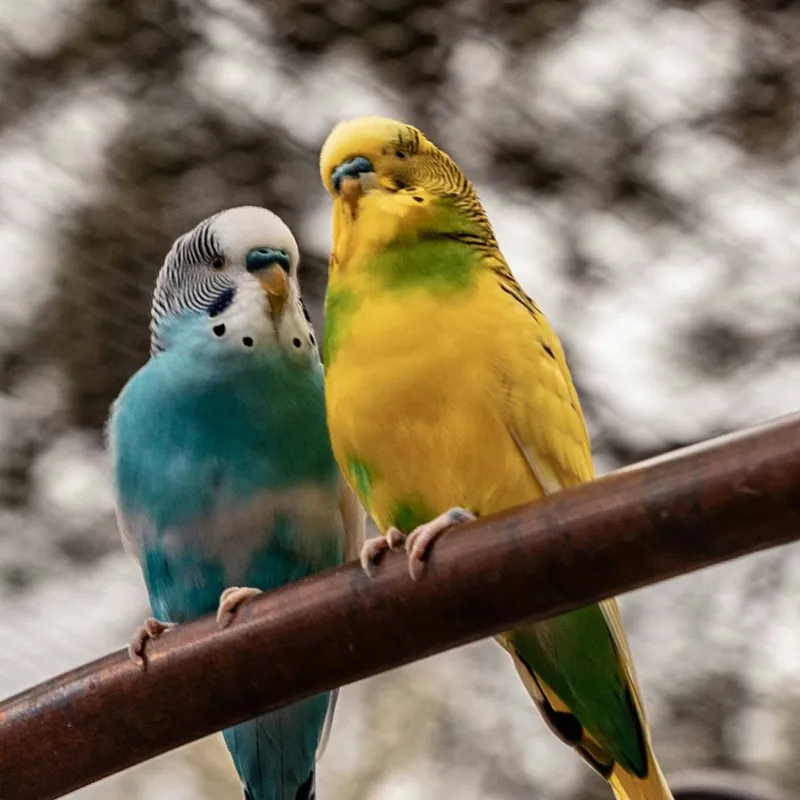
Tina Witherspoon | Unsplash
If you are considering breeding budgies, be prepared to set aside regular time for them. The process demands attentiveness and a watchful eye on every detail. Your birds will rely on you. Therefore, think it over carefully before deciding to breed your budgerigars.
Overview of This Guide
For those who have made the decision to breed, the following sections walk through the key stages:
- Setting Up
- Adding the Nest Box
- Courtship and Egg Production
- Incubation and Hatching
- Feeding During the First Month
- Transition to Independence
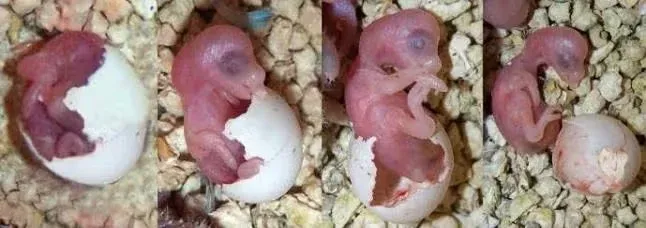
Watching a budgie hatching out of its shell is an experience to remember.
1. Setting Up
Begin with a cage of standard dimensions (39″×20″×32″). You will also need two adult budgerigars, both older than one year.
Choose a location for the cage where the birds will not face frequent disturbances. A height of about 5 feet is ideal. At this elevation, the birds are less likely to feel anxious when you approach, and they remain out of reach of children or potential predators.
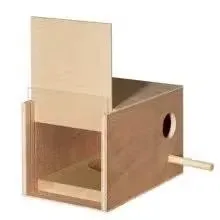
Breeding box
2. Adding the Nest Box
When your budgies are settled in a suitable environment, they will begin to form a pair bond. Signs that the time is right for a nest box include seeing them feed one another and noticing that the male has become noticeably more active. A standard breeding box can be purchased from a local pet shop. Attach it to the opening on the side or front of the cage.
3. Courtship and Egg Production
Once the box is in place, the male will urge the female to go inside and inspect it. Typically, it takes two to three days for the female to accept the box. If she does, she will spend the majority of her time inside it.
After she is comfortable with the box, mating will begin. Each mating session usually lasts about a minute, and the pair will mate multiple times per day. Within a few days, the female will lay her first egg, with subsequent eggs appearing at intervals of at least 24 hours. During this period, it is important to supply the pair with plenty of calcium—cuttlefish bone is an excellent source. The female will produce between four and eight eggs before she begins incubating them.
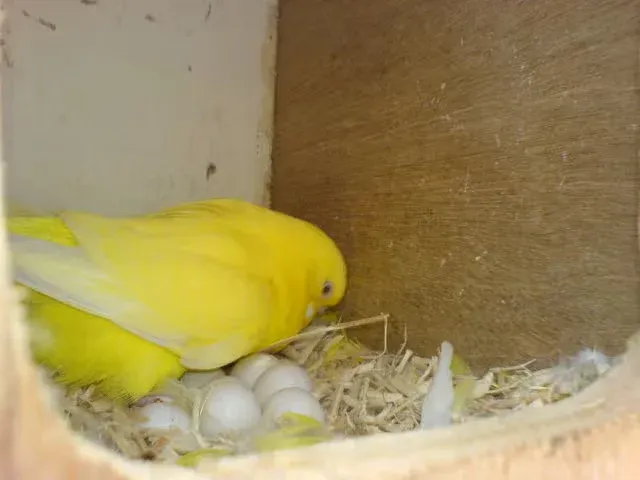
This is a budgie hen and her eggs inside a breeding box.
4. Incubation and Hatching
The female remains in the box for most of the time, keeping the eggs warm, while the male brings her food. Hatching occurs between 18 and 21 days after incubation begins. Usually, the first chick emerges around the 20th day. Because eggs are laid at different times, they do not all hatch on the same day. Additionally, not every egg is fertile; some may never hatch.
A typical clutch consists of four chicks, which is generally the most manageable number. When more than four chicks are present, the female faces a heavier burden, which can lead to slower growth among the chicks.
5. Feeding During the First Month
At this point, the most critical phase of breeding budgies begins. After the chicks hatch, the parents must be given three times the amount of food they were receiving before, so they can feed the young. The challenging part is that a simple seed mix from the store is not enough; you will need to prepare soft foods.
Good nutrition is vital for the hatchlings to develop into robust budgerigars with bright, healthy colours. Egg food can be bought at a pet store, but it does not match the quality of fresh homemade egg food combined with vegetables from the market. Throughout the next month, the parents must be given a continuous supply of soft food so that the chicks can also begin to sample it.
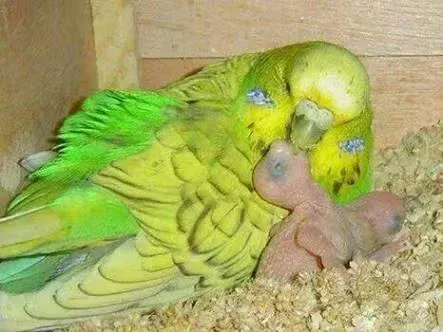
The parent will feed the hatchlings.
6. Transition to Independence
When the chicks reach 30 to 35 days of age, they will start to leave the nest box and gather at the bottom of the cage. At this point, they cannot fly and are unable to use perches. You should place soft food and seed mix on the cage floor so they can reach it easily and learn to eat on their own. Ensure that the cage temperature does not drop below 77°F (25°C), as this can be harmful to the chicks.
Add a perch near the bottom of the cage to help the chicks learn to use it. Over the following 10 days, the chicks should begin eating independently and develop some flying ability. At this stage, you may separate the chicks from their parents to prevent any harm, and once the last chick has left the box, remove the breeding box. This prevents the parents from starting another breeding cycle.
Final Thoughts
I hope this information proves useful for your budgie breeding efforts. Breeding budgies is something I personally enjoy, and I would encourage young people to try it as it helps develop a sense of responsibility. It is a fulfilling hobby, particularly when you see the results. If you have any questions, feel free to leave them in the comments below. Thank you for reading.
Featured Gallery
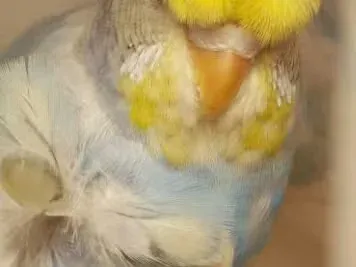
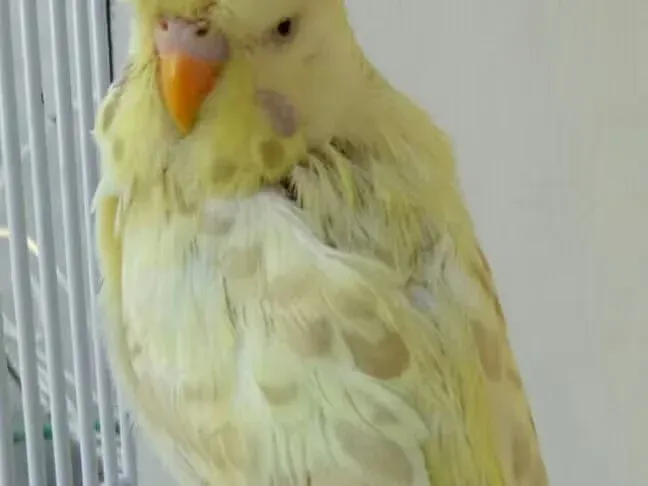
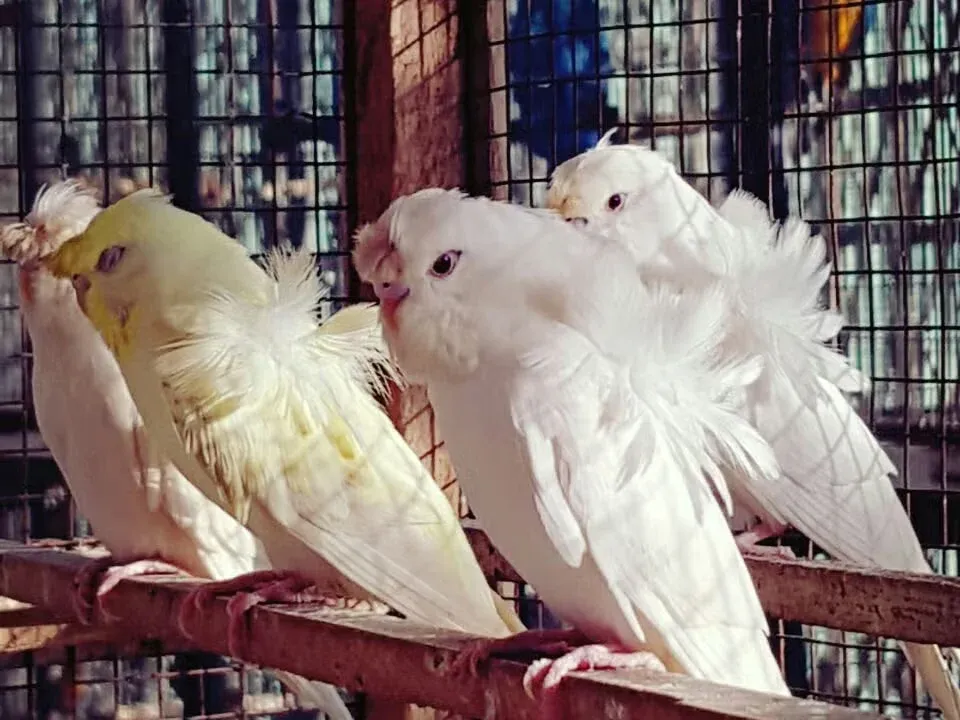
Some of my favourite chicks!
This article is accurate and true to the best of the author’s knowledge. It is not meant to substitute for diagnosis, prognosis, treatment, prescription, or formal and individualized advice from a veterinary medical professional. Animals exhibiting signs and symptoms of distress should be seen by a veterinarian immediately.
Sources
- A Step-by-Step Guide to Raising Budgie Chicks — pethelpful