DIY Dog Biscuits with Peanut Butter and Honey: A Flexible Recipe
Charlie Ross
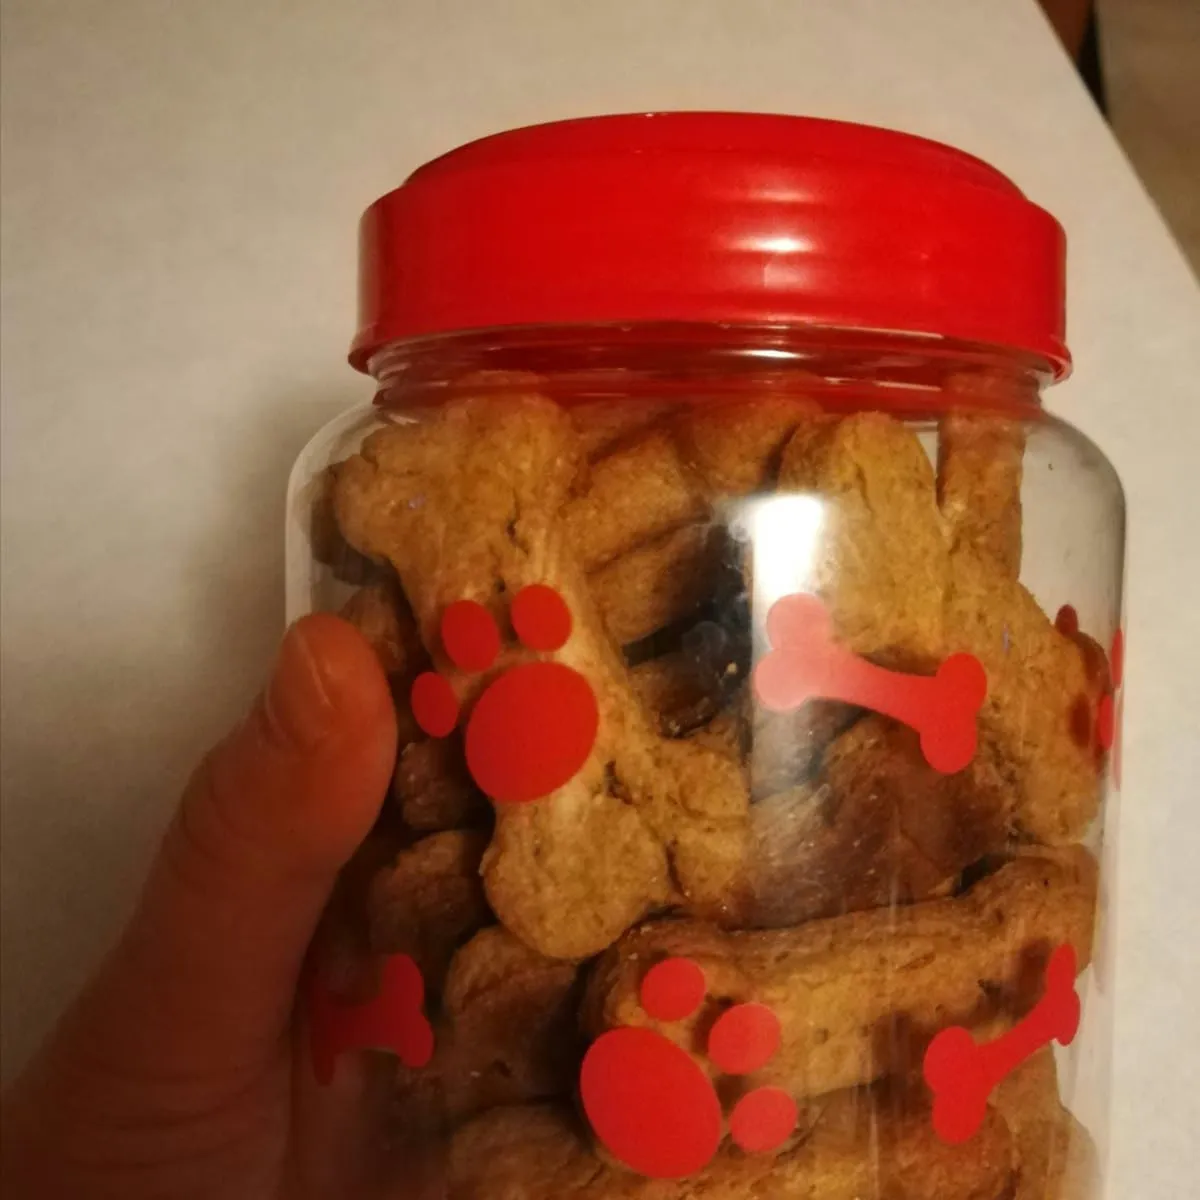
A Homemade Peanut Butter and Honey Dog Biscuit Formula
Nothing beats the joy of baking treats for your dog. Watching their reaction when you hand them something you made yourself is a reward in itself. Beyond the feel-good factor, preparing treats at home gives you full knowledge of what goes into each bite, allowing you to skip undesirable additives. You also get to decide how big or small each biscuit is, which helps with portion control depending on your dog's size.
These homemade treats also double as a wonderful present for other dog owners. There's plenty of room to personalize them, and giving a handmade gift signals that you put real care into it. The jar shown in the picture above came from a dollar store—it's inexpensive yet charming, making the whole project wallet-friendly too.
What You'll Need
Gather these items:
- Whole wheat flour – 2 cups
- Peanut butter – 1 cup (either chunky or smooth works)
- Baking powder – 1 tablespoon
- Milk – 1 cup
- Coconut oil – 3 tablespoons, gently melted
- Honey – 1 1/2 tablespoons
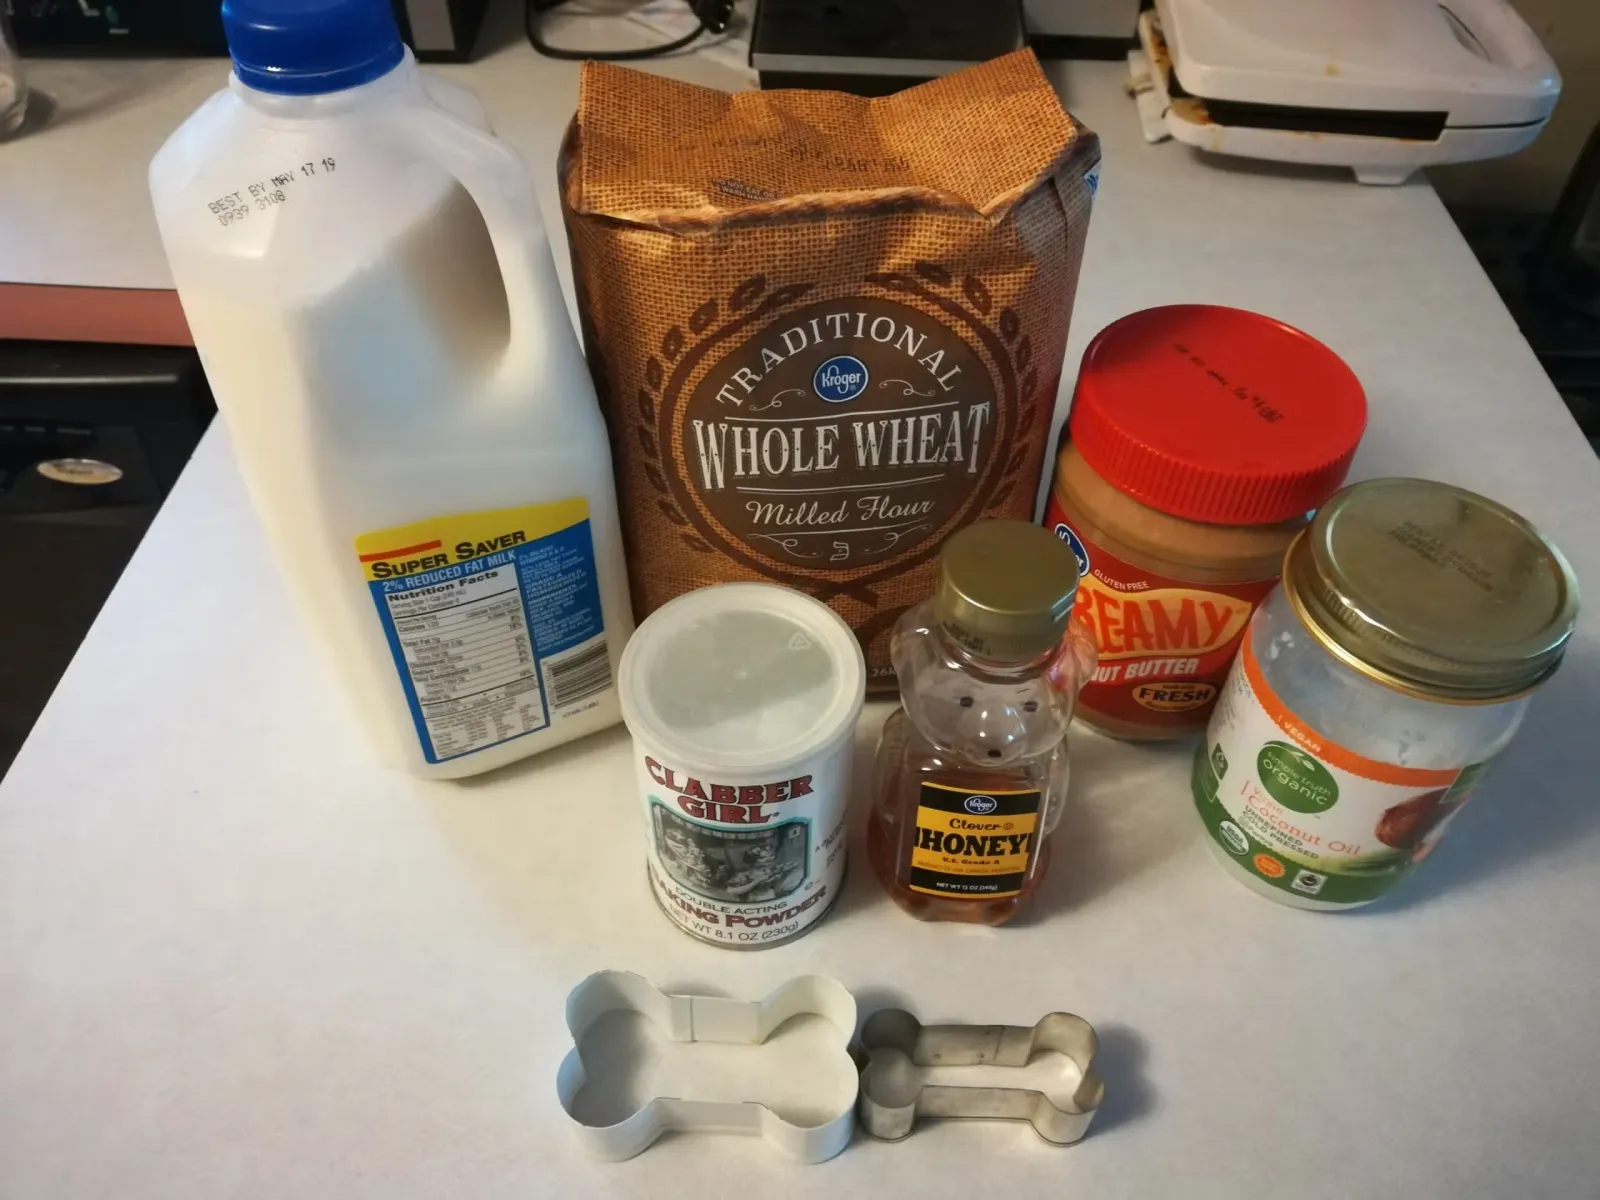
The ingredients you will need.
Ideas for Mix-Ins
Since the base recipe is simple, you can fold in extra ingredients for variety, for example:
- Carob chips
- Rolled oats
- Shredded carrots
- Apples, finely chopped
Before adding anything new, do a quick check to confirm it's safe for your dog to consume.
How to Make Them
Step 1
Set your oven to 375° F and let it preheat.
Step 2
Grab a large mixing bowl, add everything, and stir until well combined.
Note: Using an electric mixer isn't advised (the photo below shows why). It simply doesn't do the job well—mixing this batter by hand works much better.
Featured Gallery
1 / 2
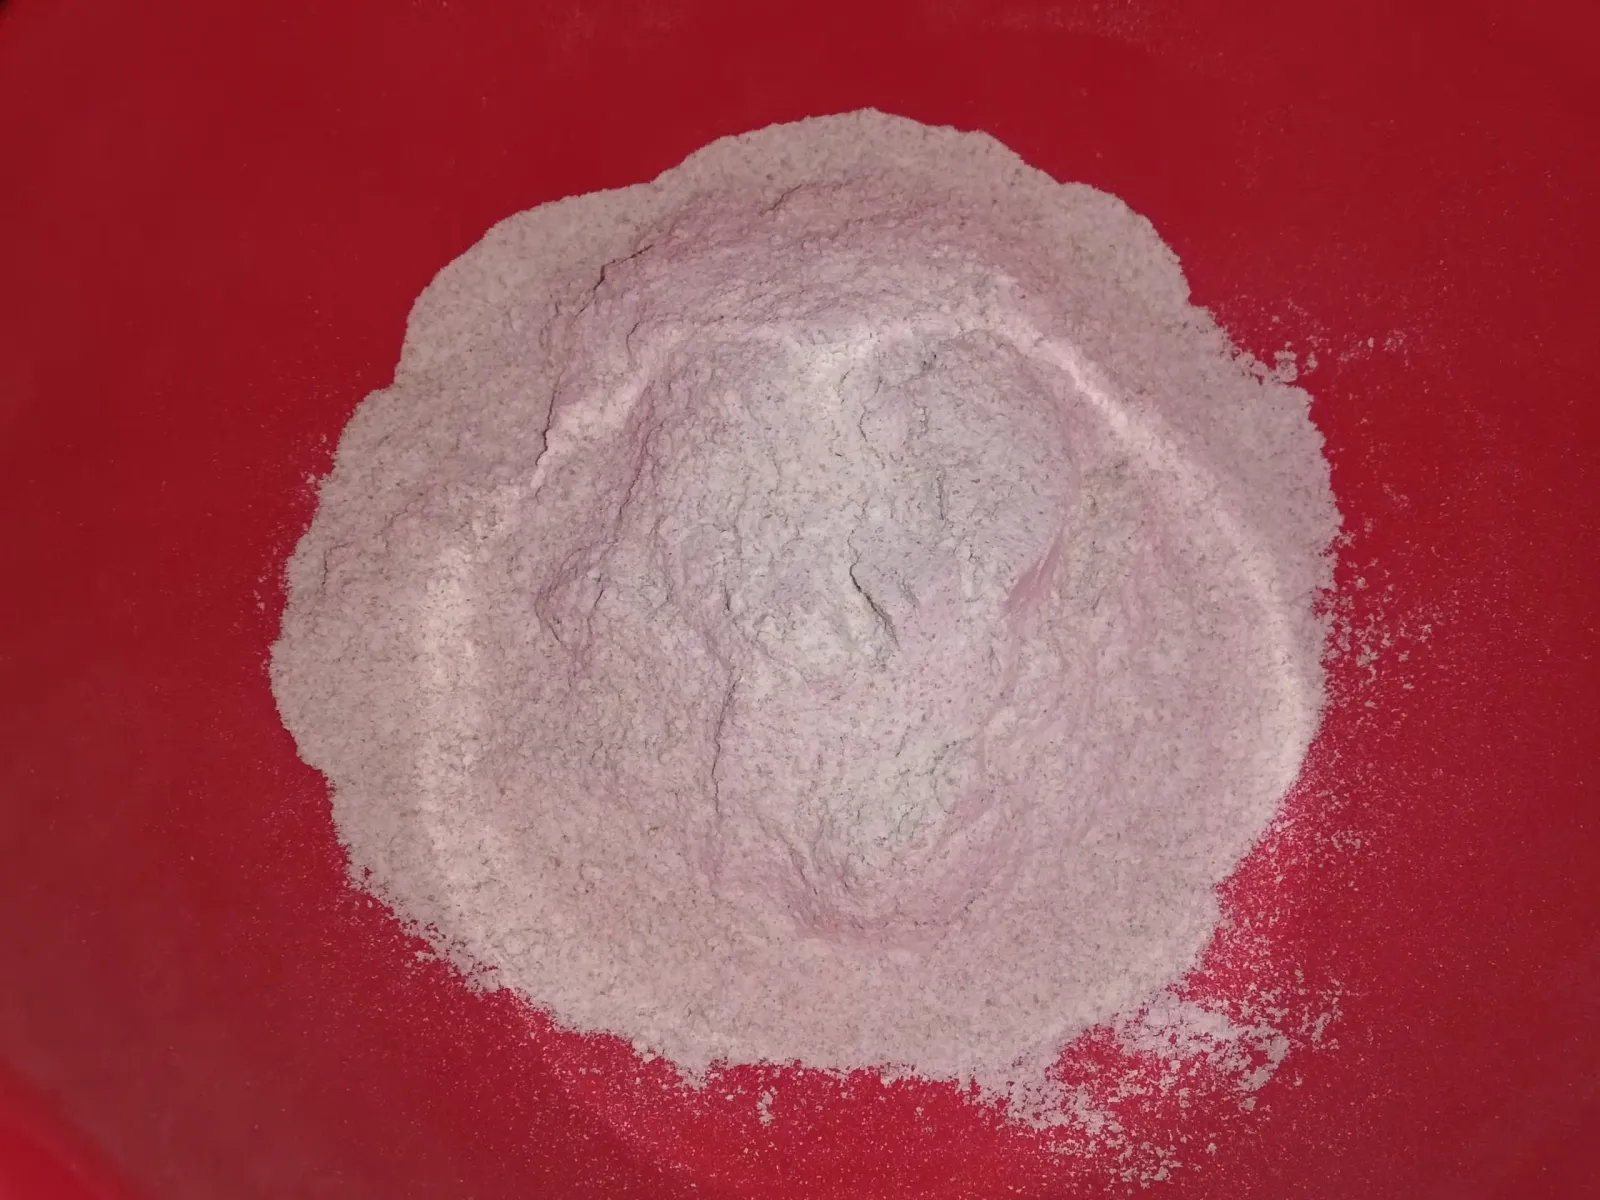
Flour and baking powder.
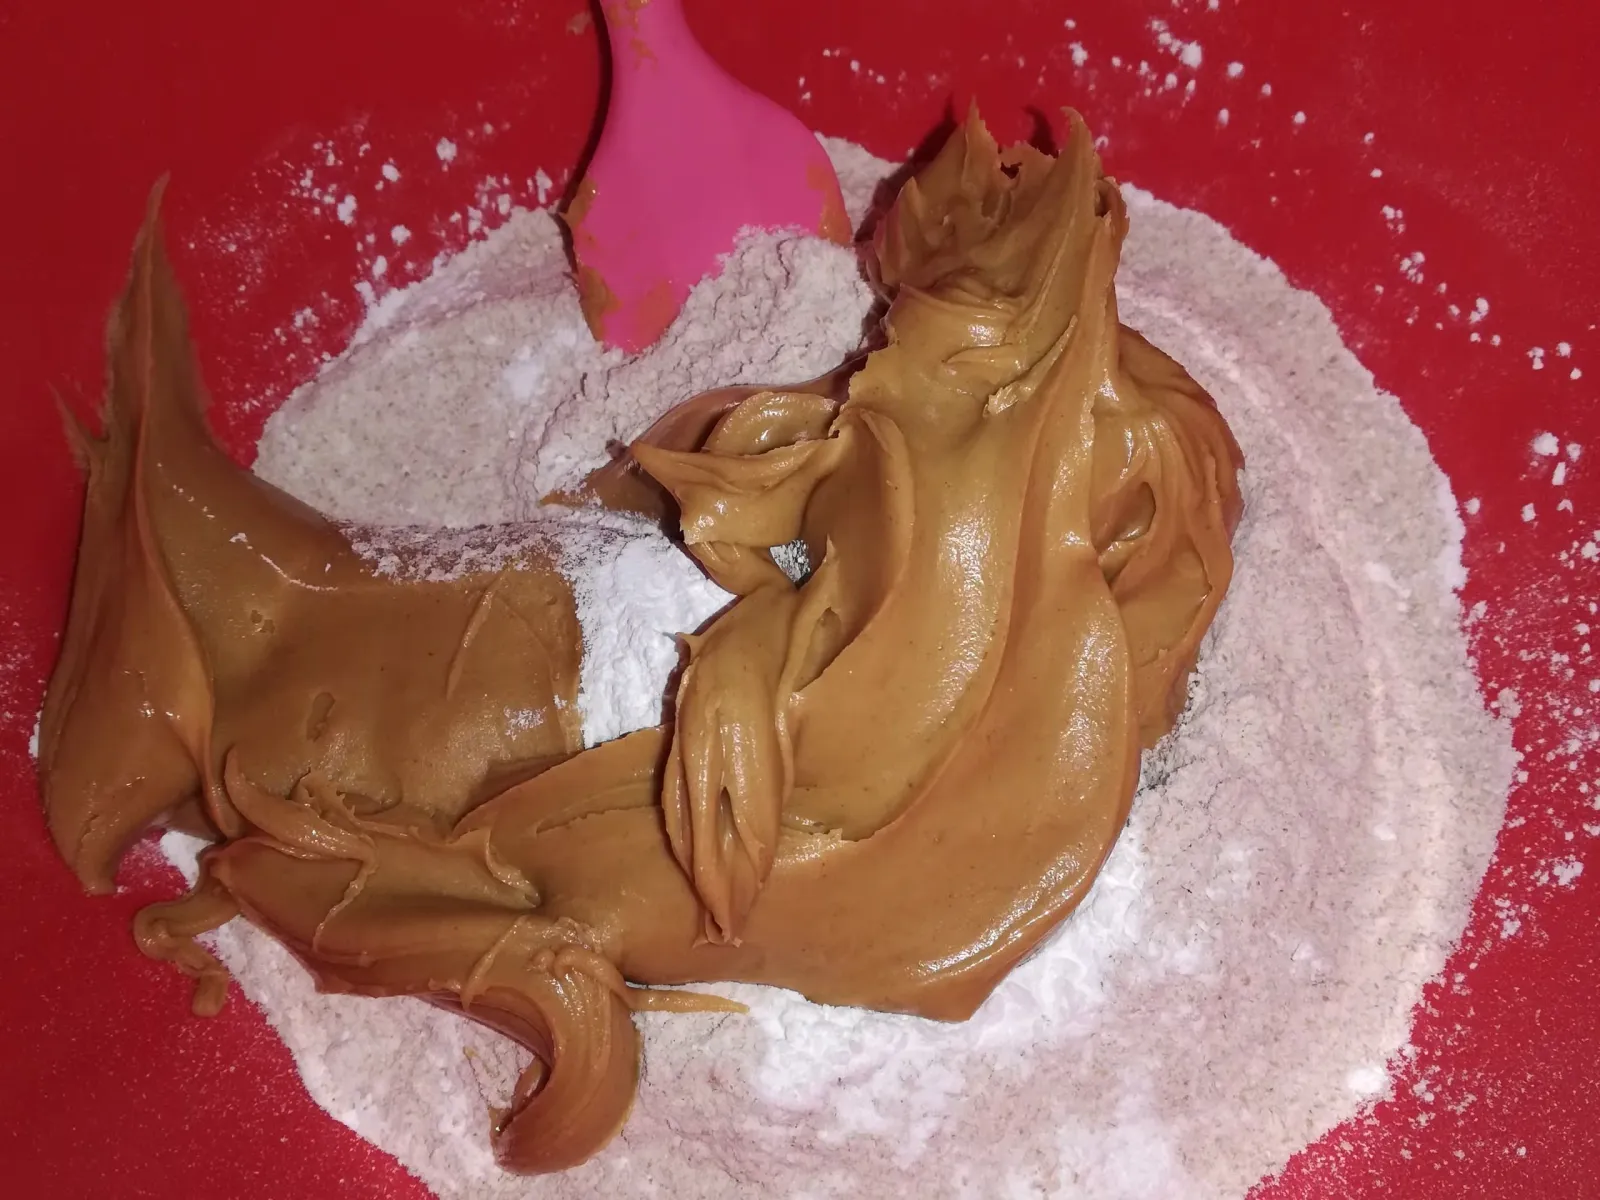
Add peanut butter.
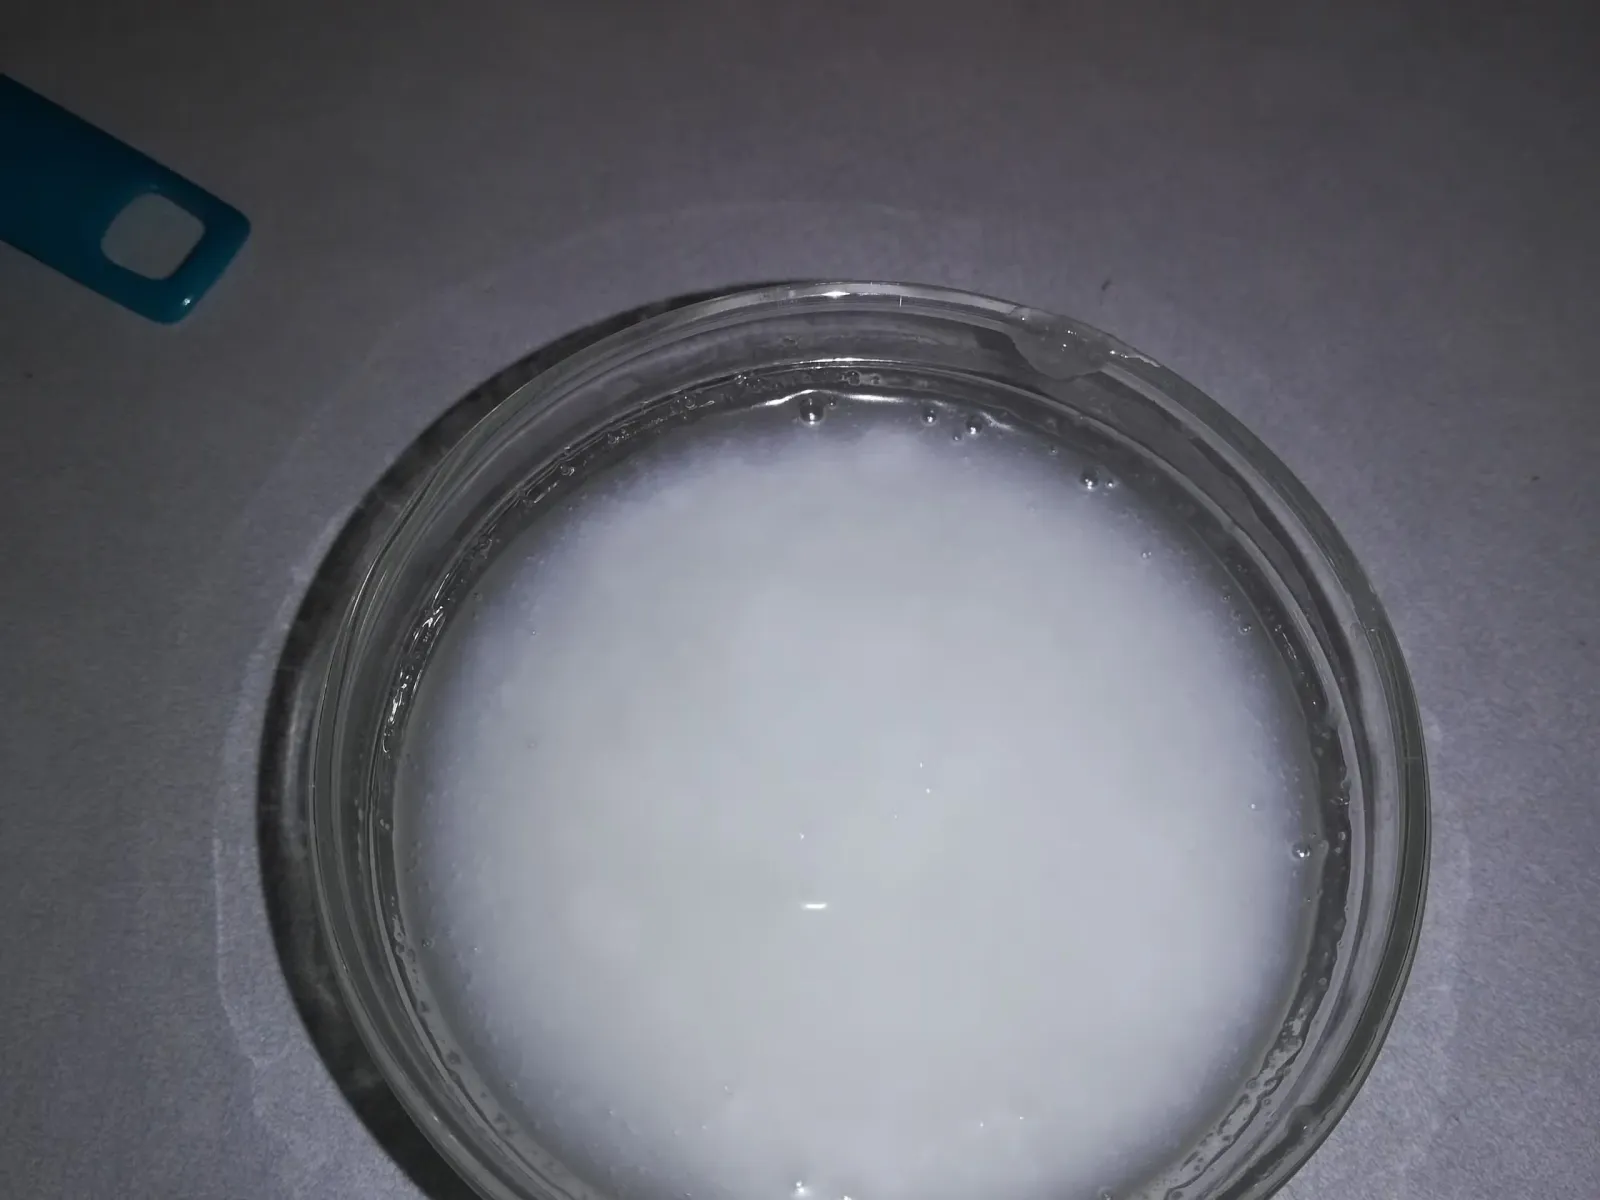
I lightly melted the coconut oil in a small bowl and then scraped it into the mixture.
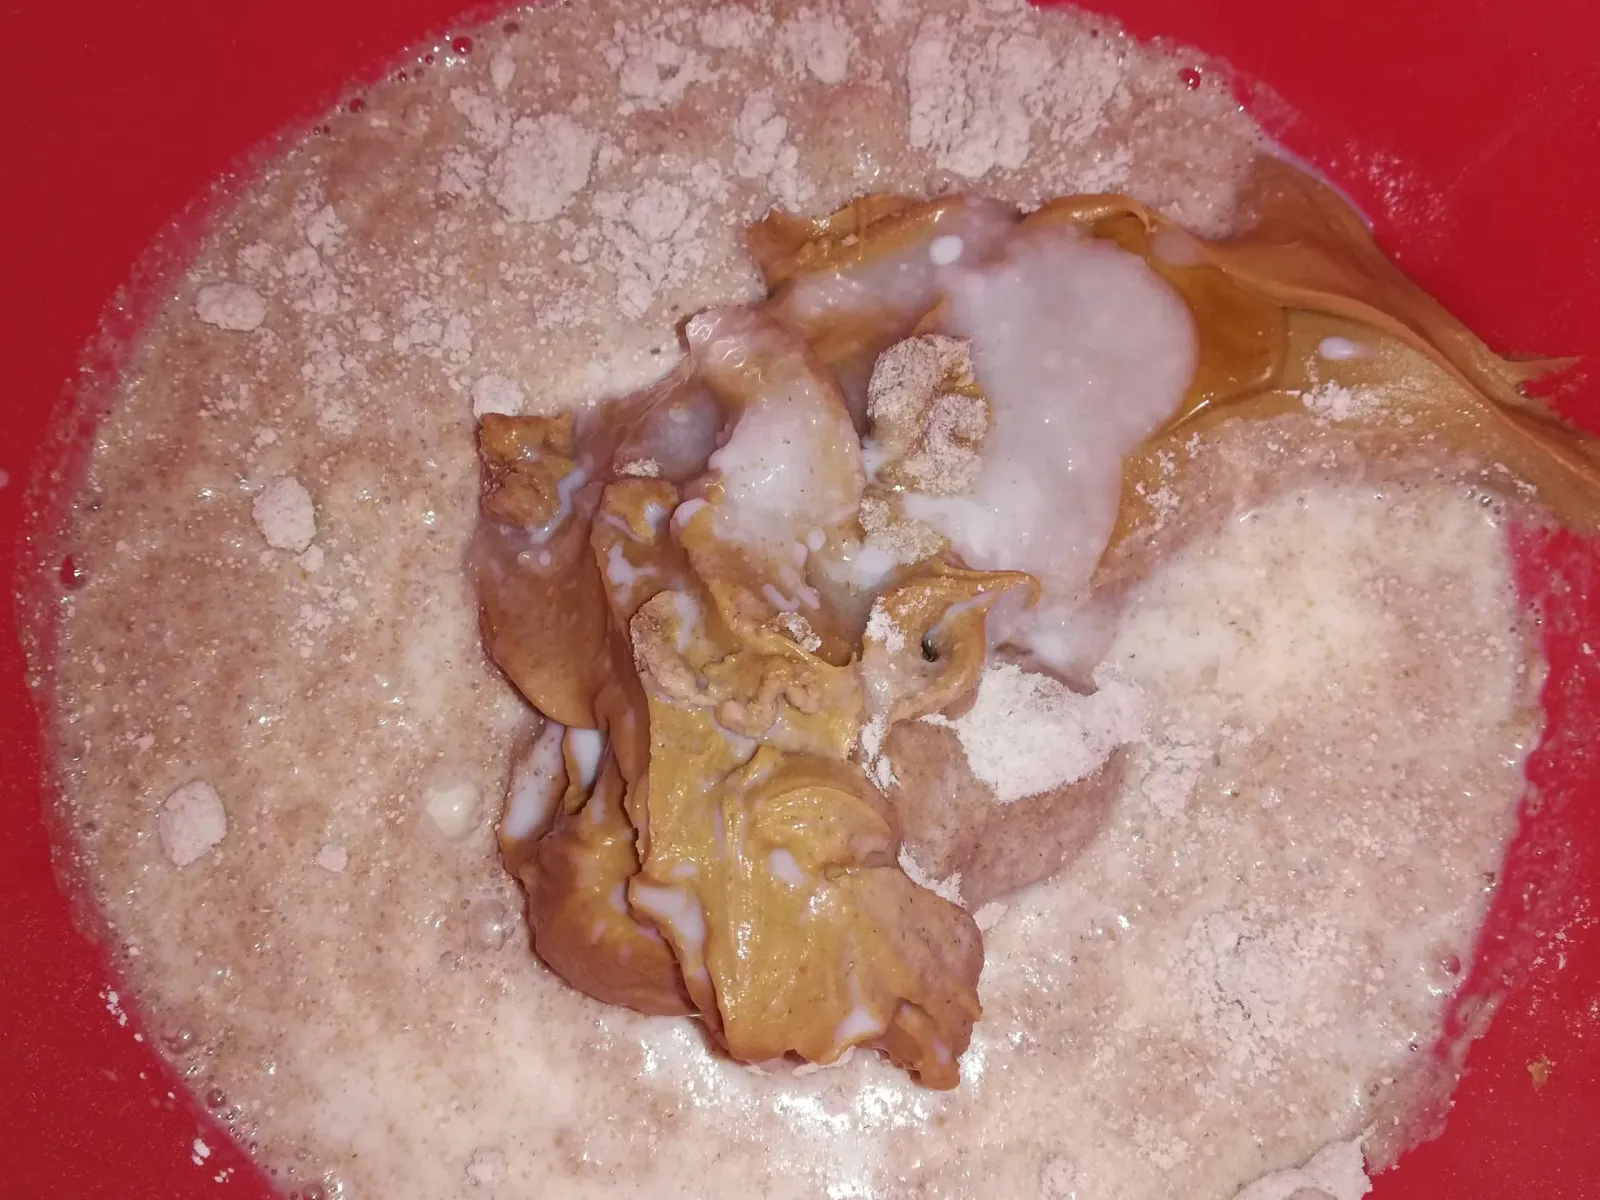
Milk and honey added now as well. This is where you mix by hand.
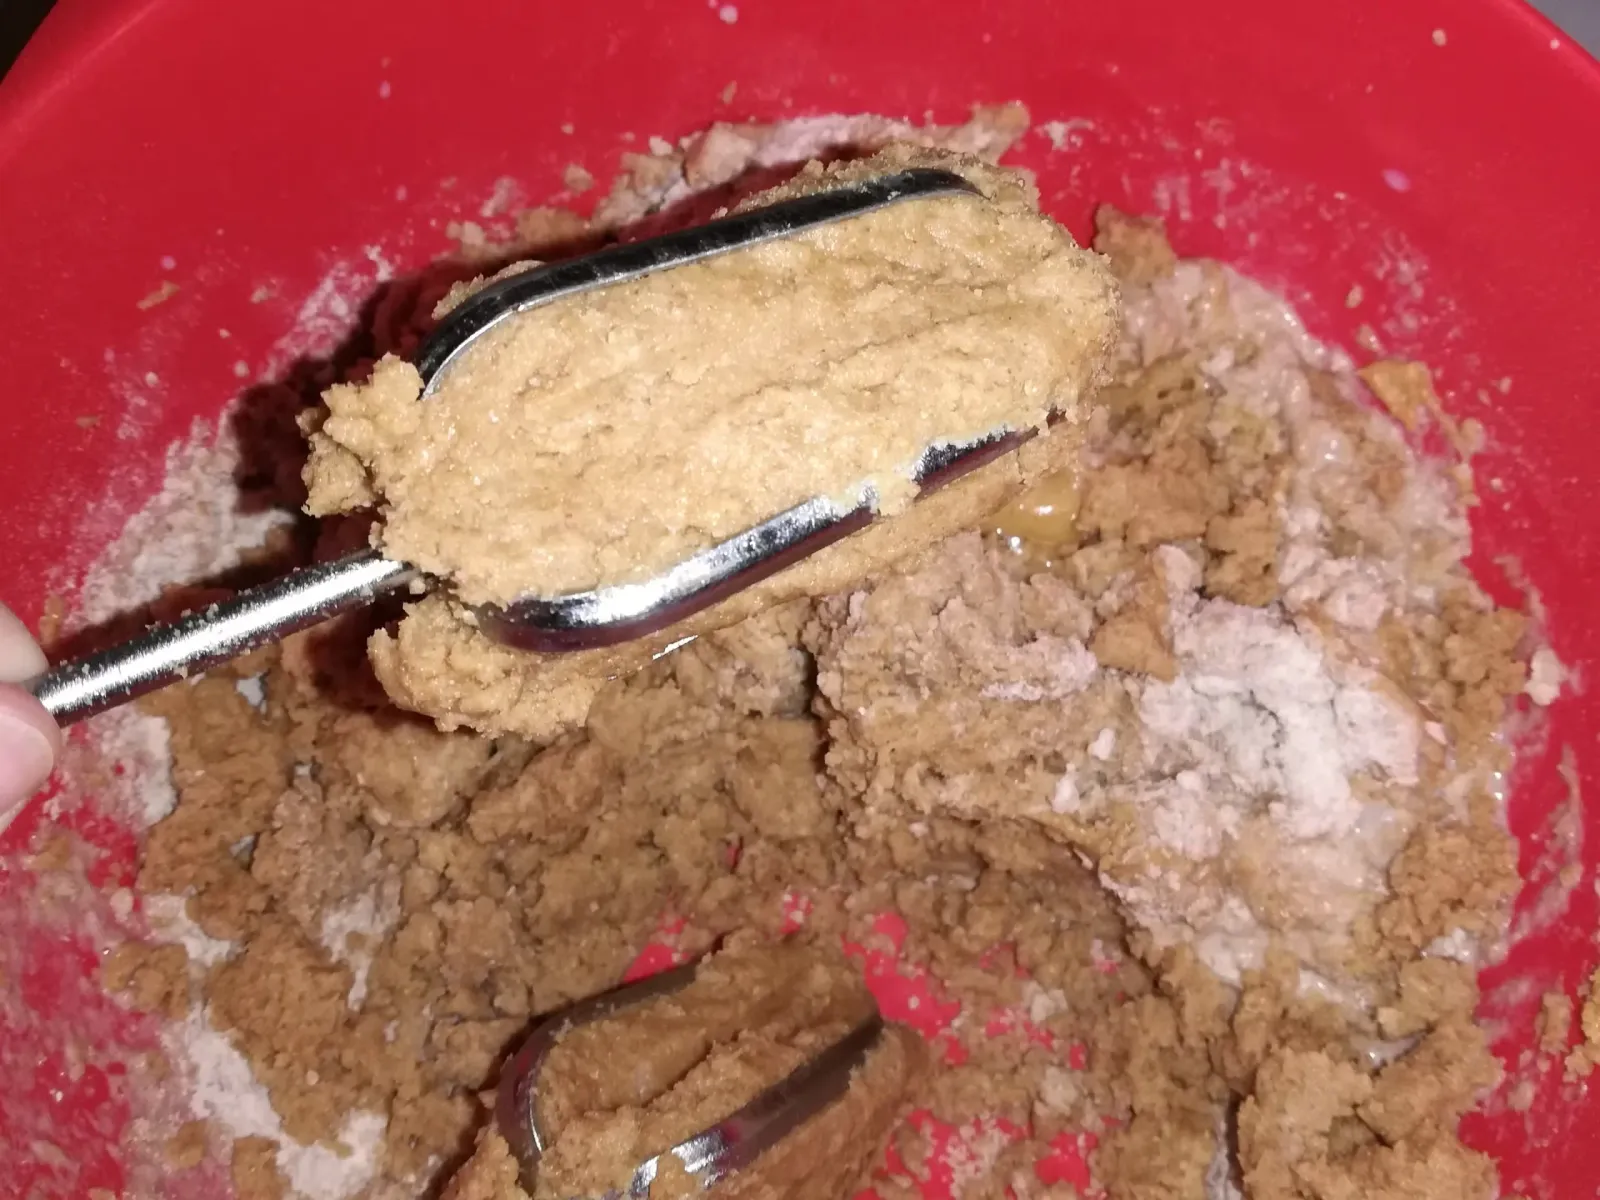
This is why it’s not recommended to use an electric mixer: it just gets caked in the beaters.
Step 3
After mixing, the dough may look a bit crumbly. Scatter some wheat flour over a flat work surface, move the dough onto it, and start kneading. Should the dough feel too dry or crumbly, work in a bit more coconut oil and continue kneading until it becomes easier to handle.
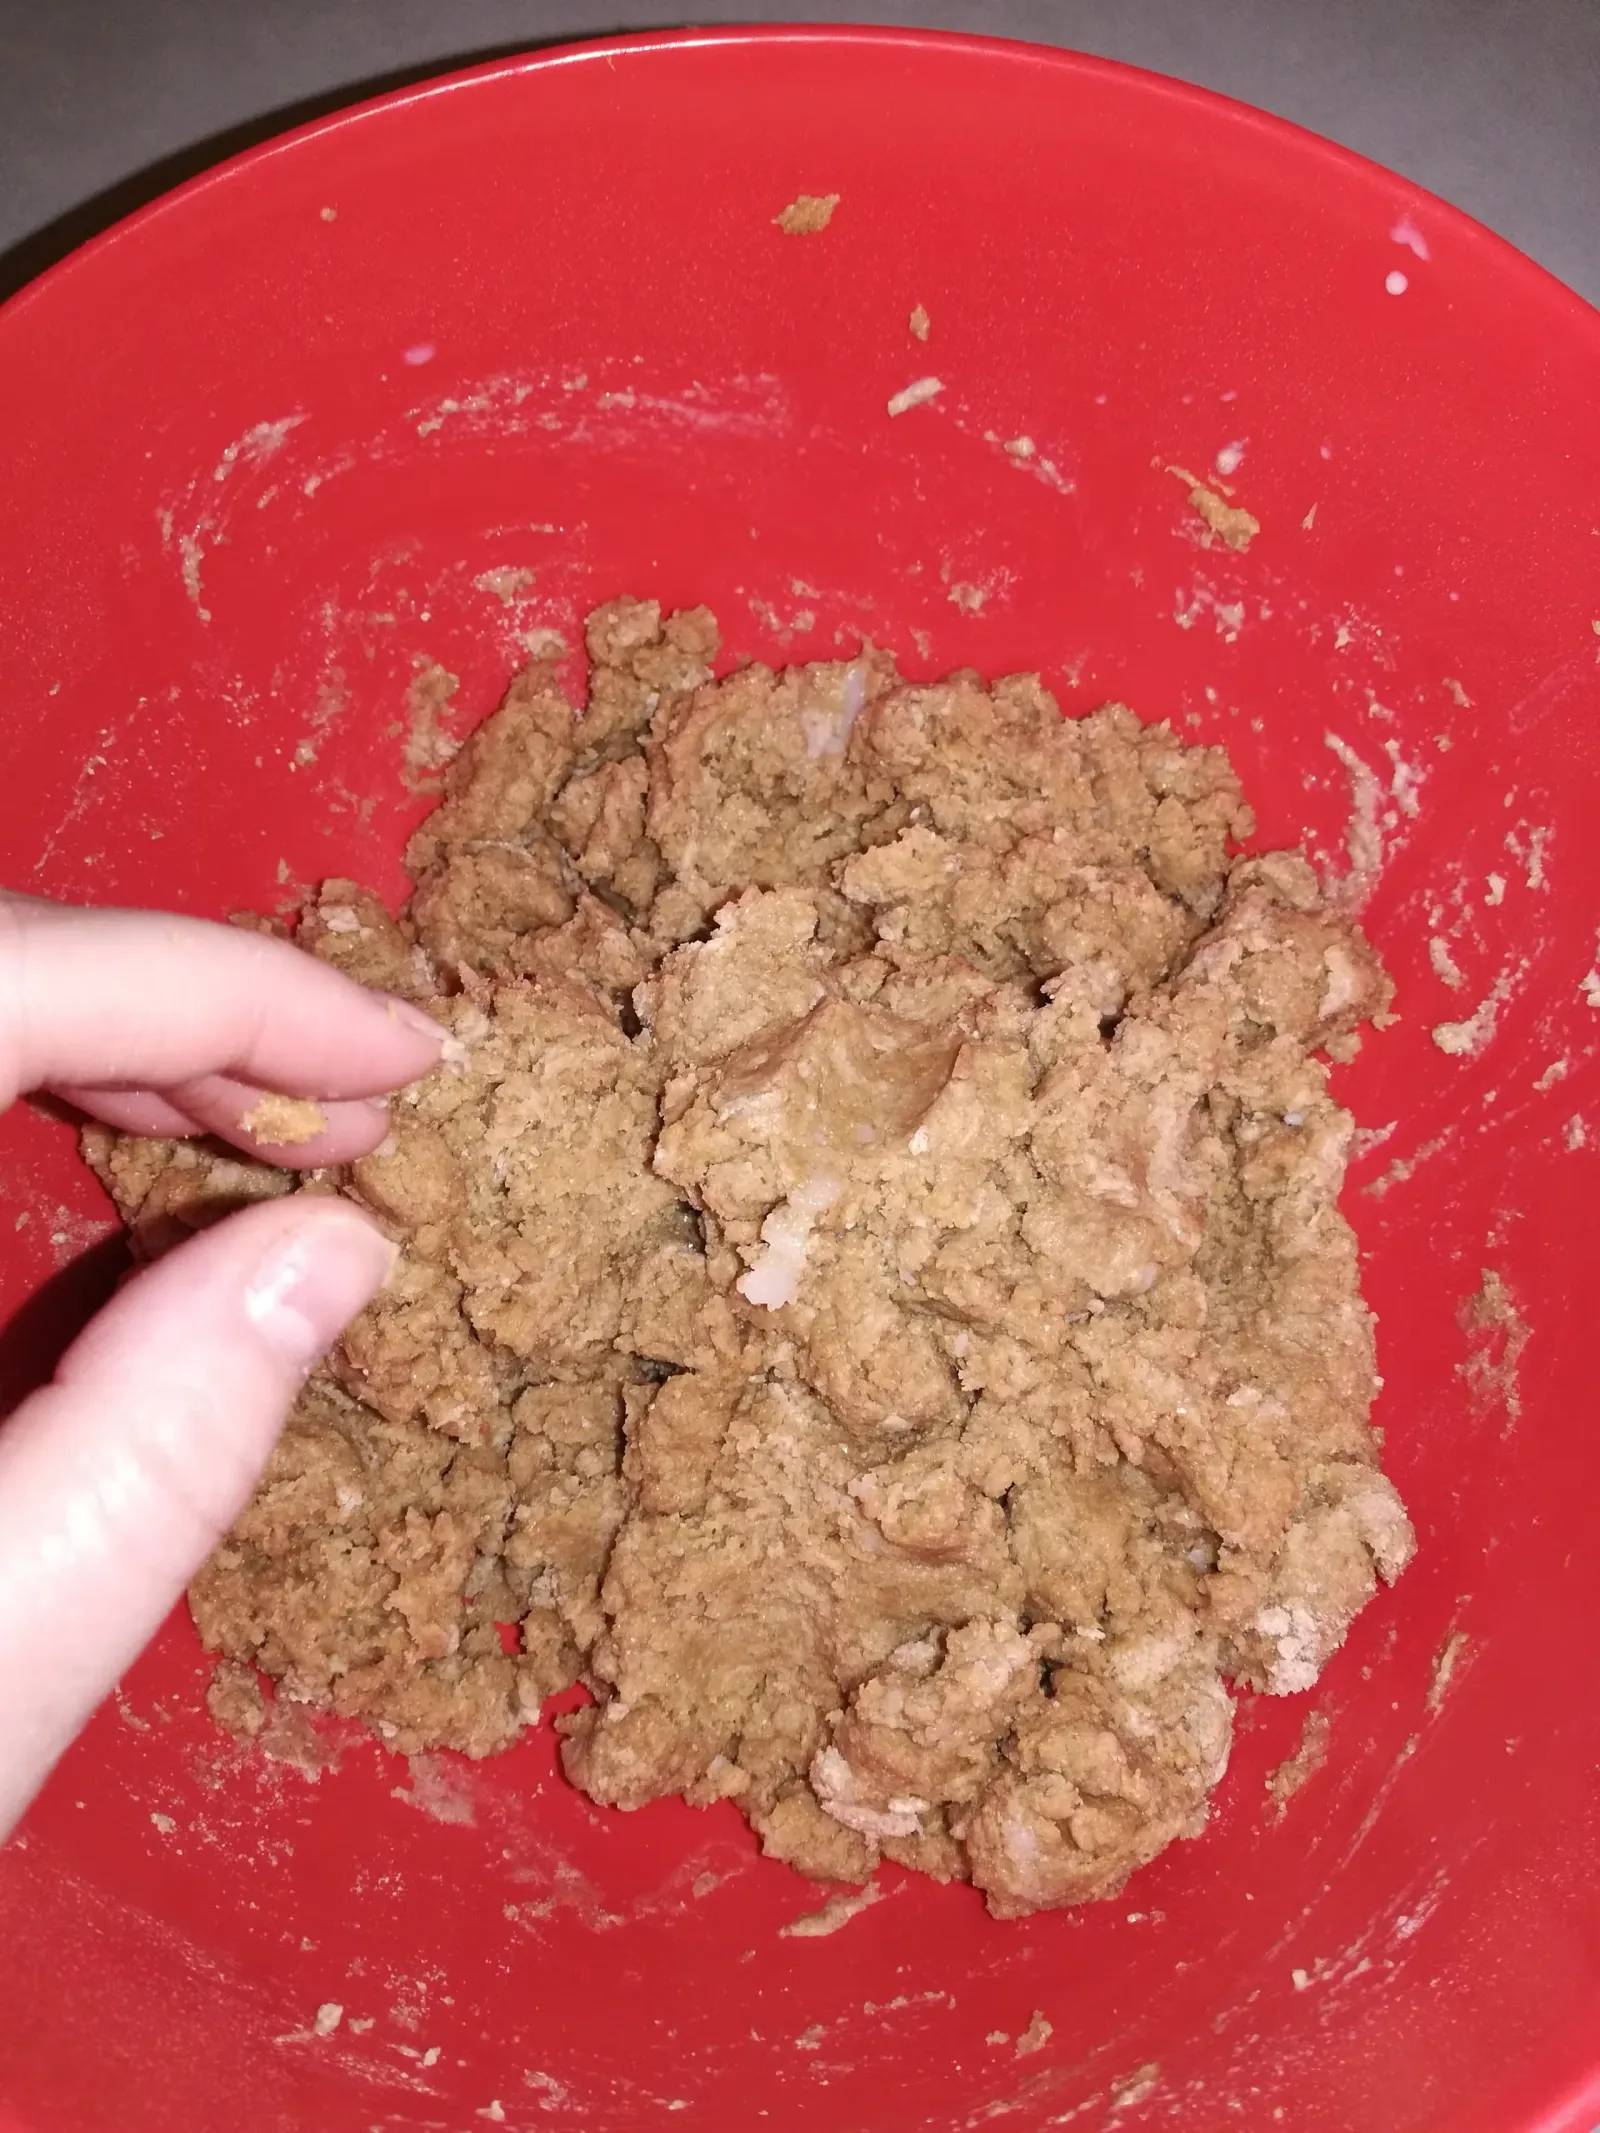
It’s ok if it looks like this before you put it on the floured surface.
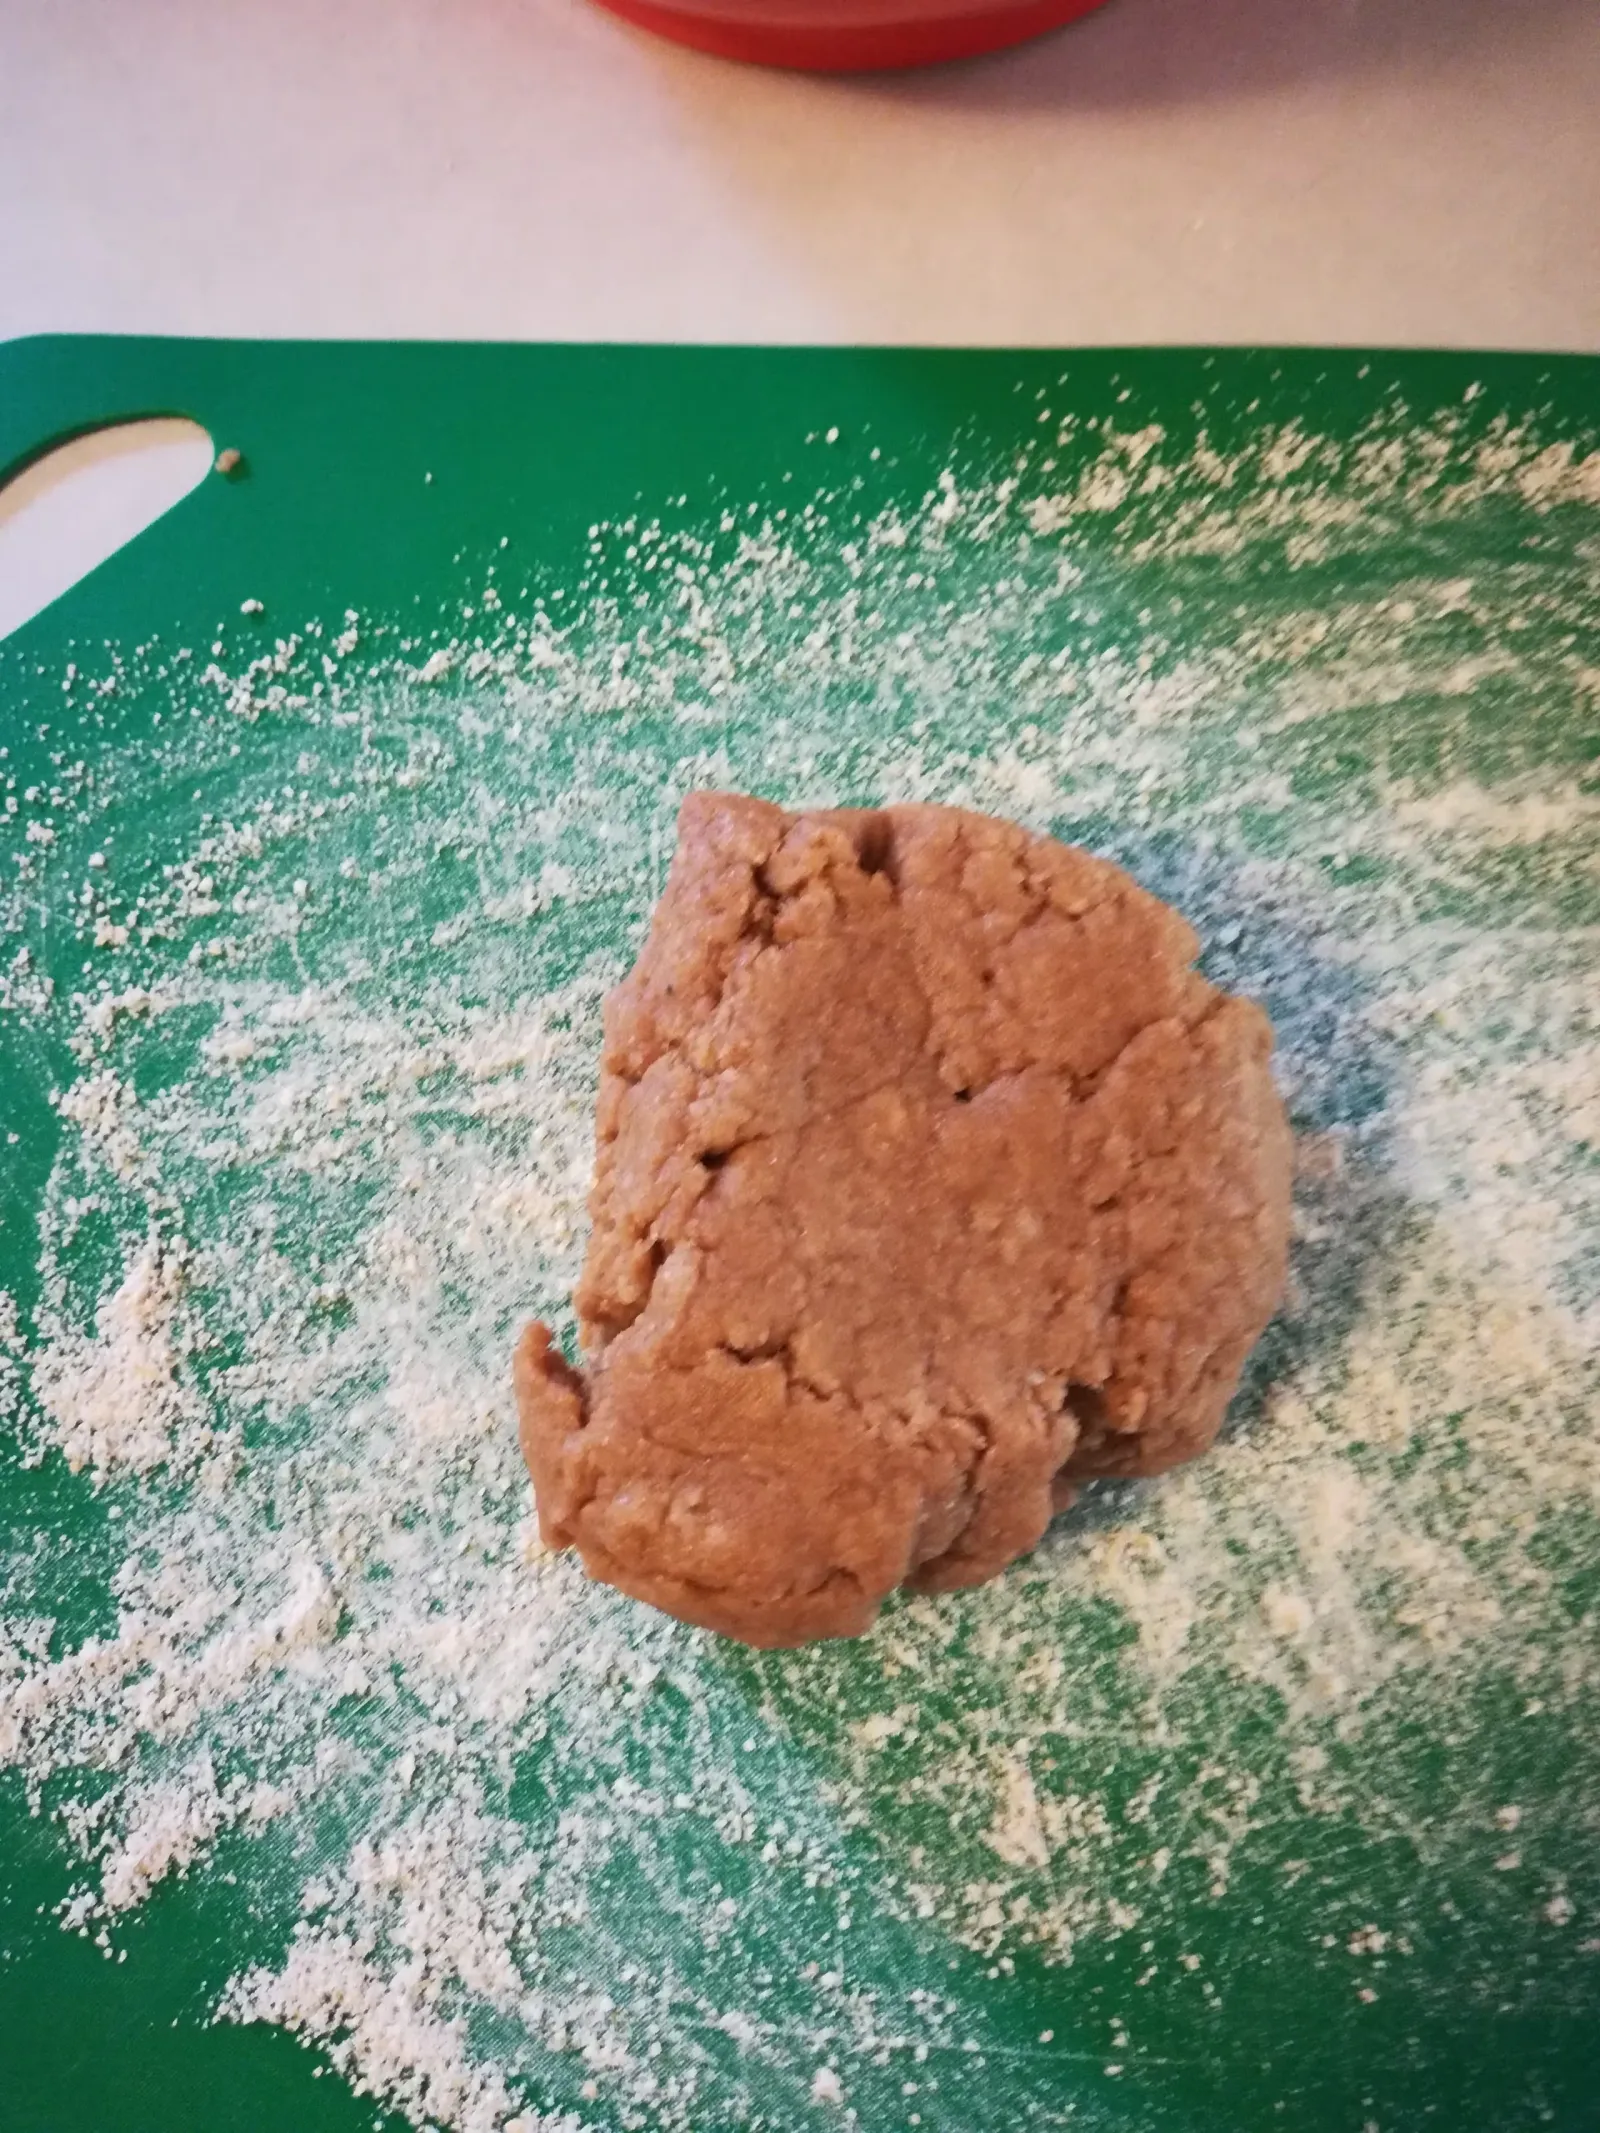
I used a cutting board as my floured surface; it makes cleanup easier for me.
Step 4
Once kneaded, roll the dough to roughly 1/4-inch thickness. Cut out shapes with cookie cutters and transfer them to a cookie sheet that's been greased or lined with foil. Poking holes with a fork to create patterns is an option, though not required.
Featured Gallery
1 / 1
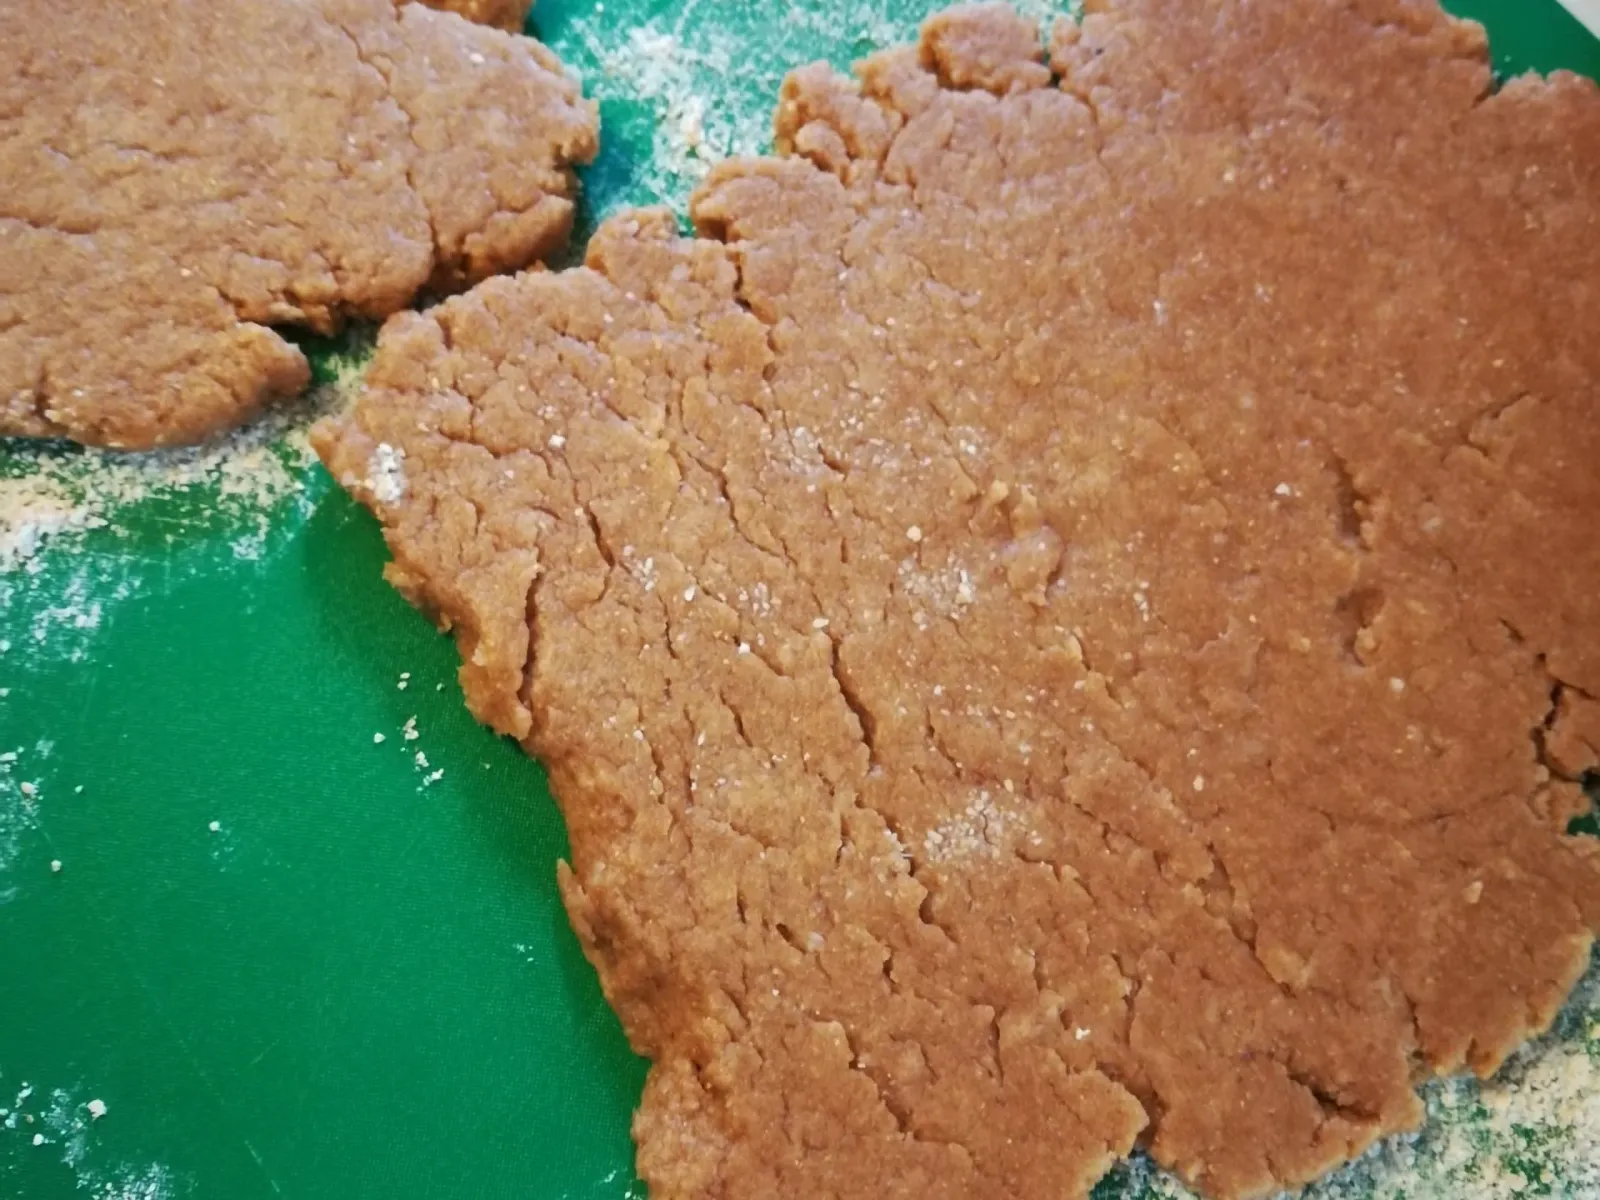
Roll out the dough. It’s ok if it looks dry—it will hold up.
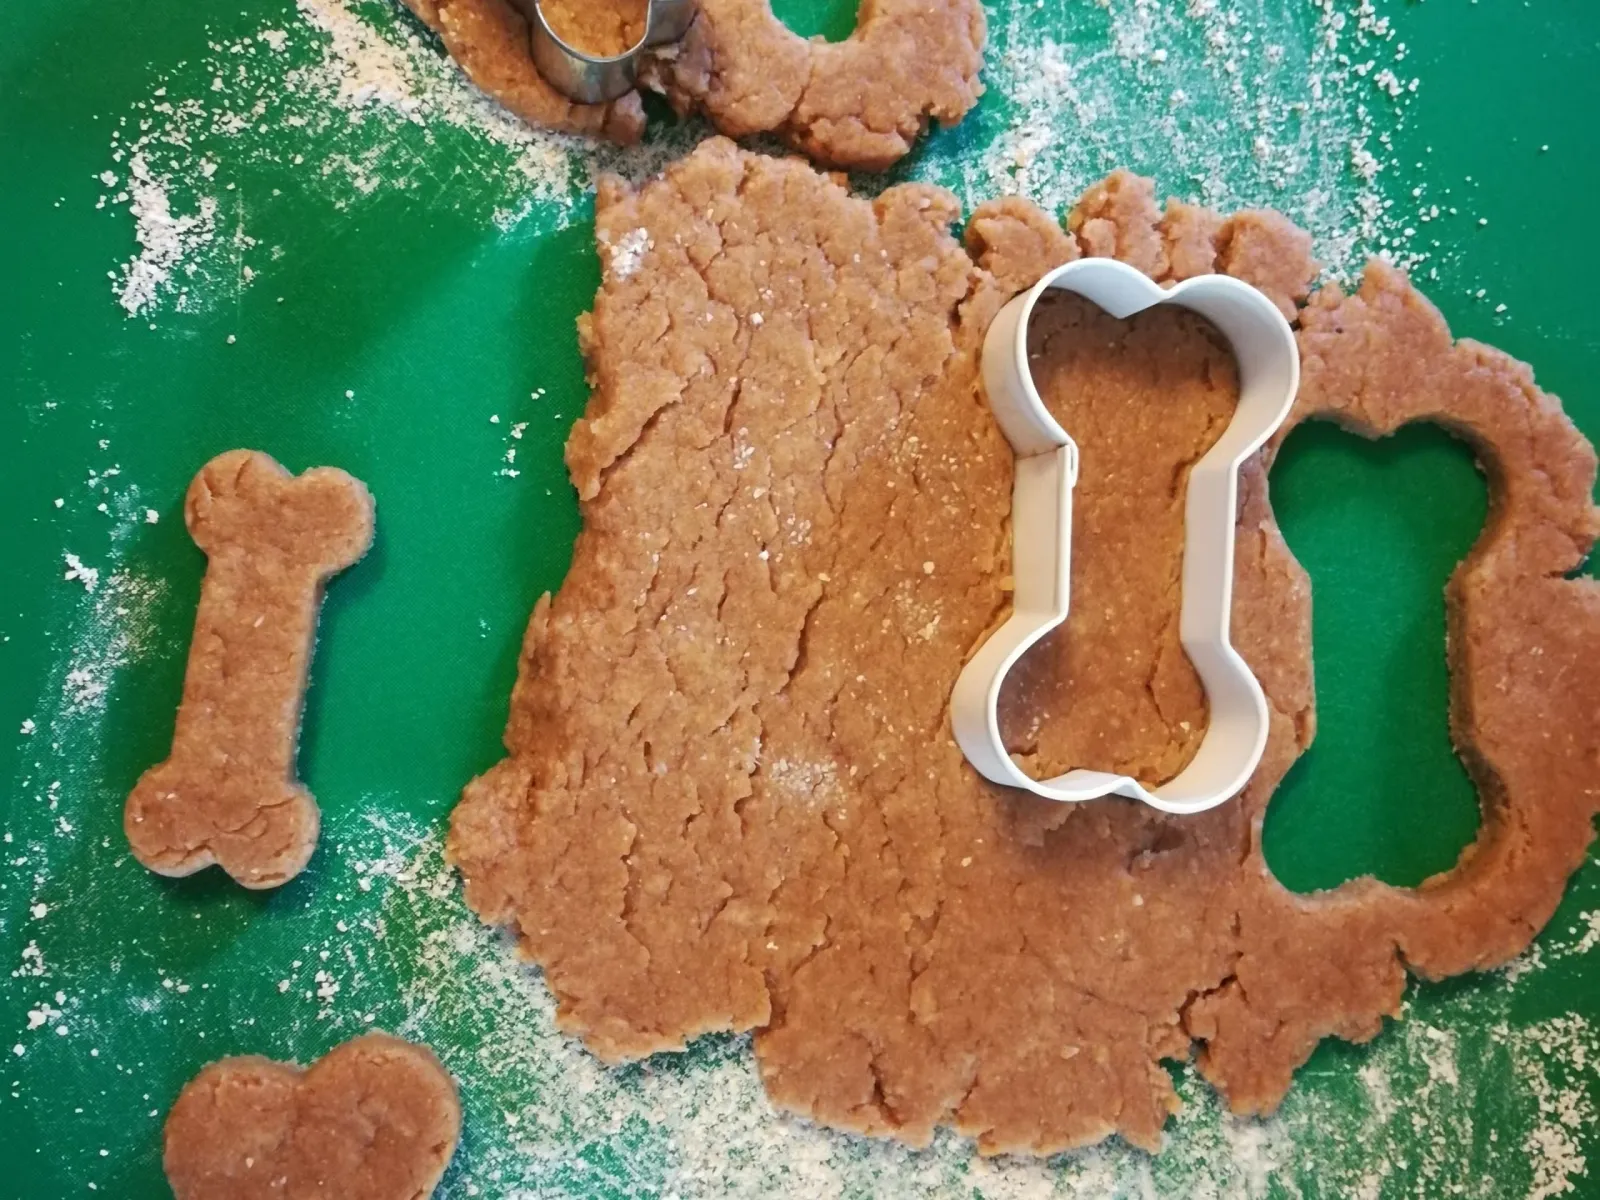
Cut out cute shapes. I just used bone shapes.
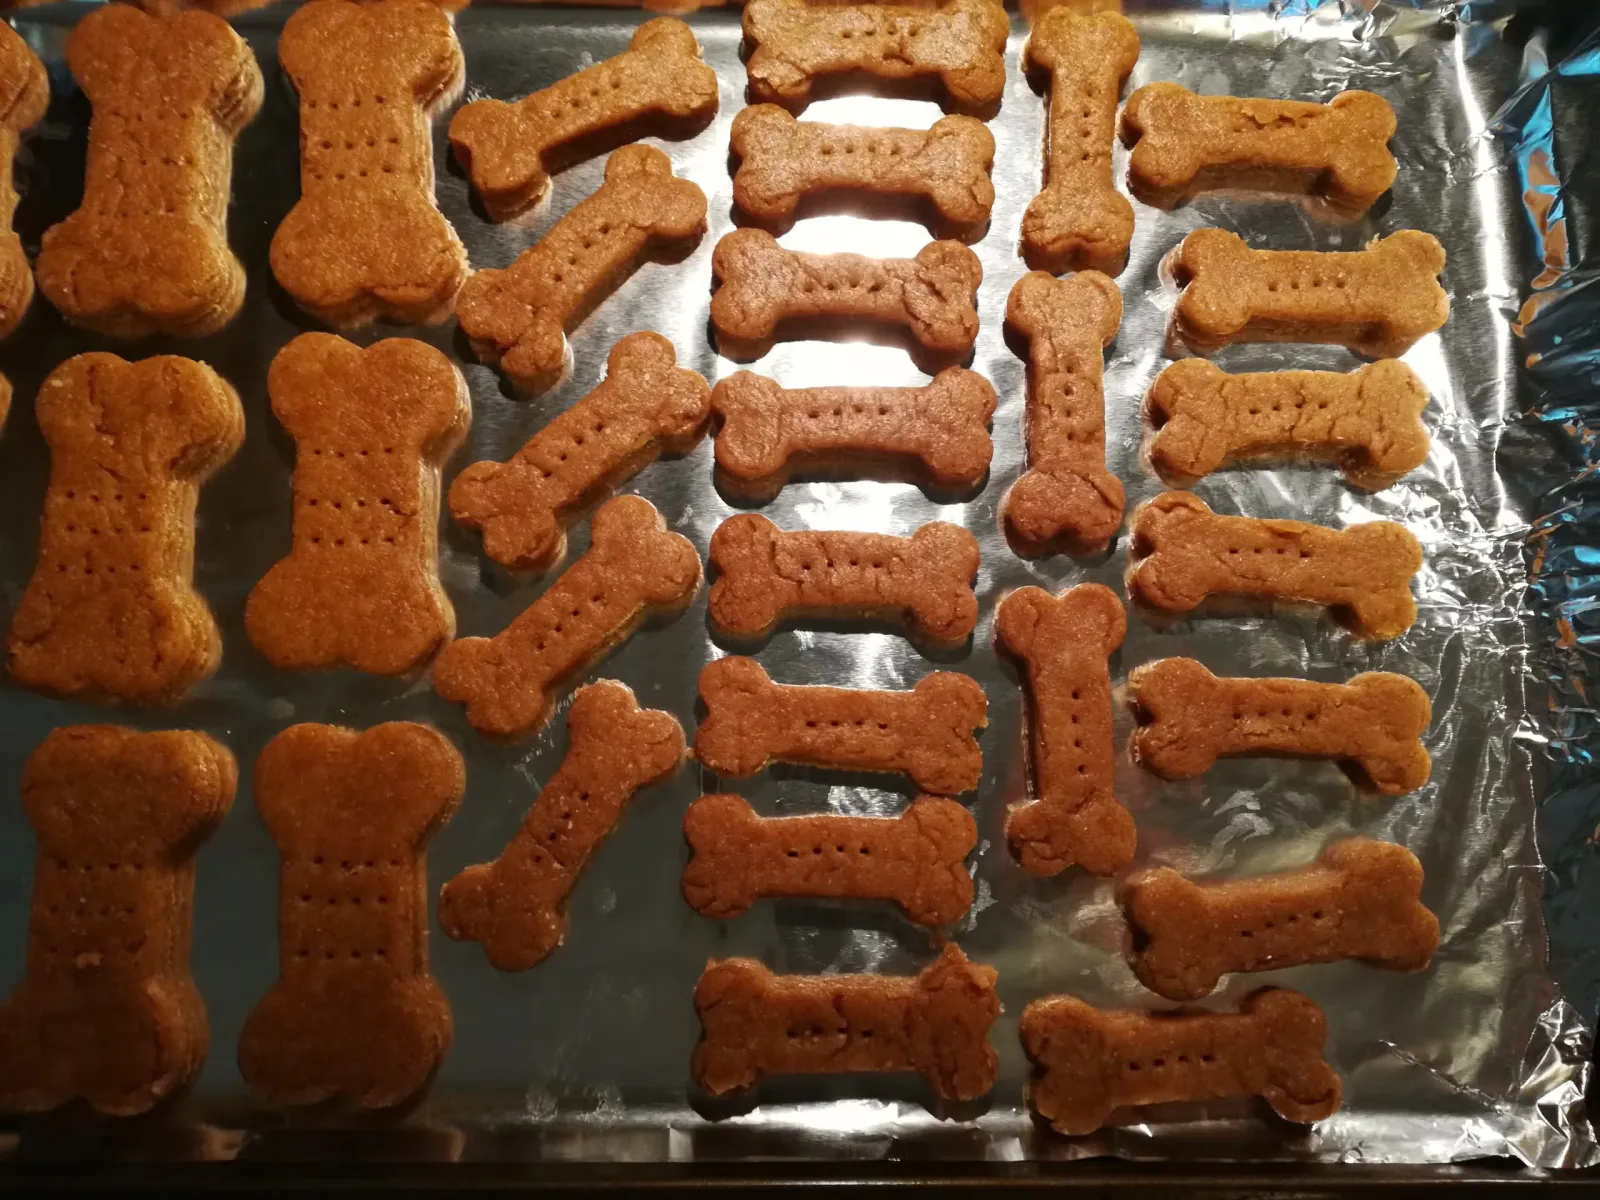
Place on a cookie sheet.
Step 5
Bake for 15 to 20 minutes. It's fine if they still feel slightly soft right out of the oven. Once they've cooled, transfer them into decorative jars if giving as gifts, or simply store them for your own dogs!
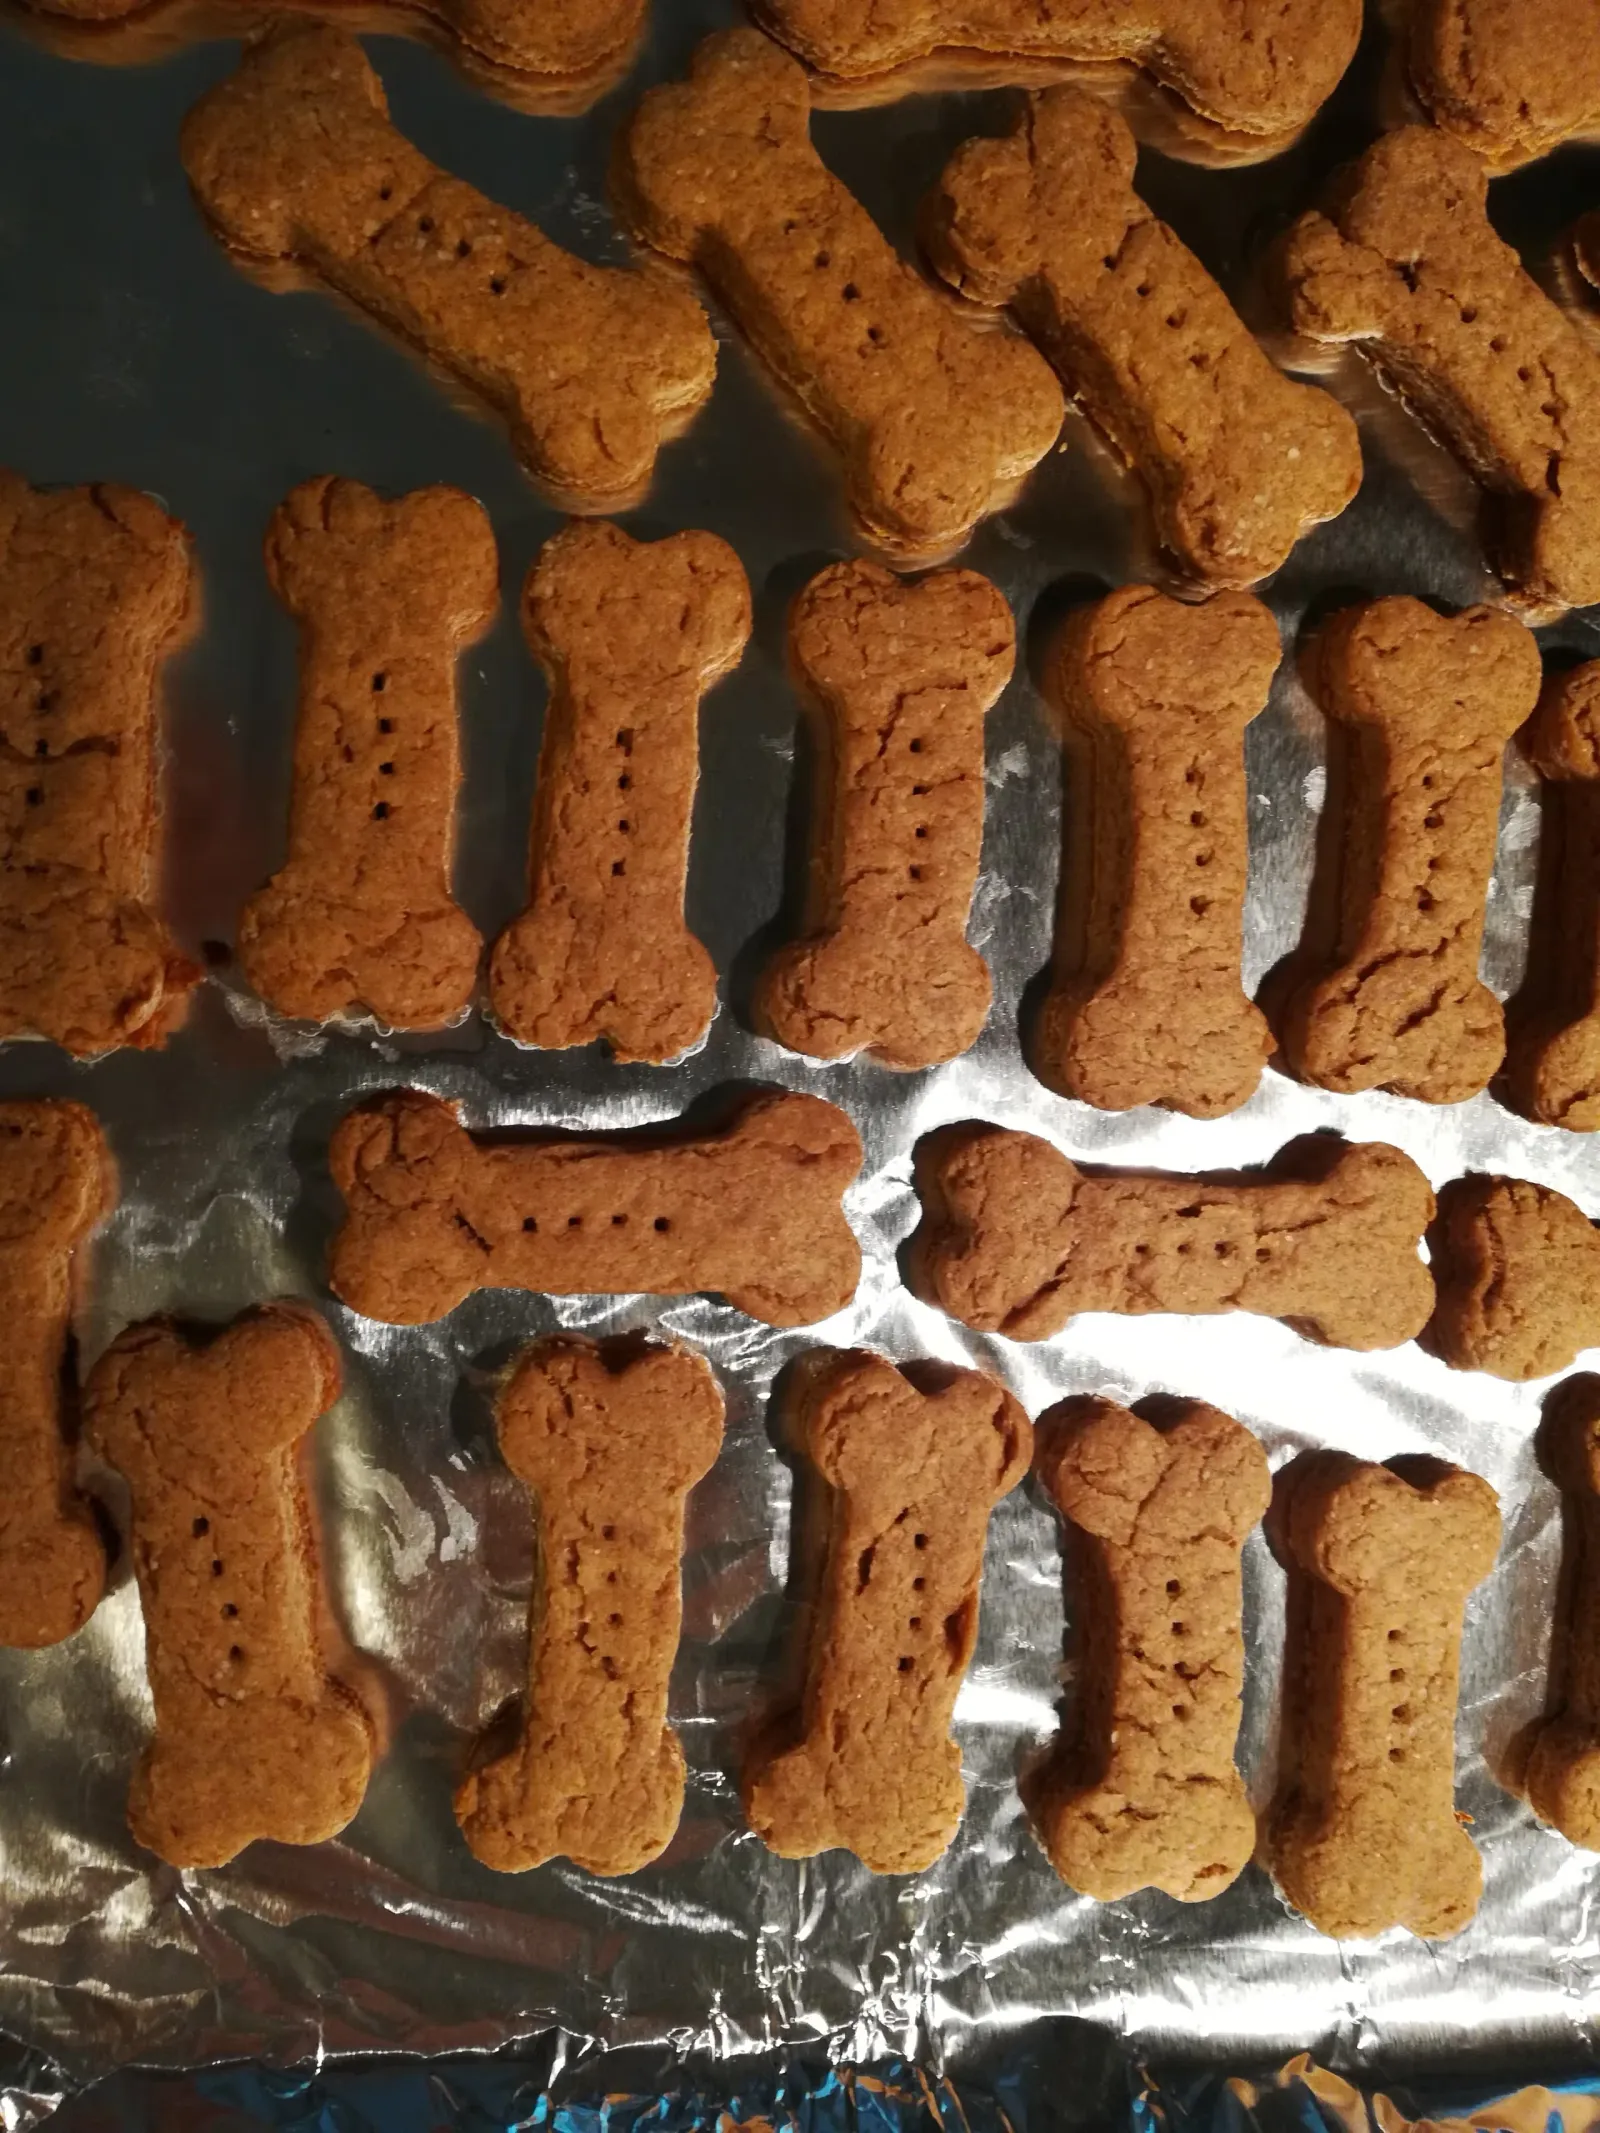
Fresh out of the oven.
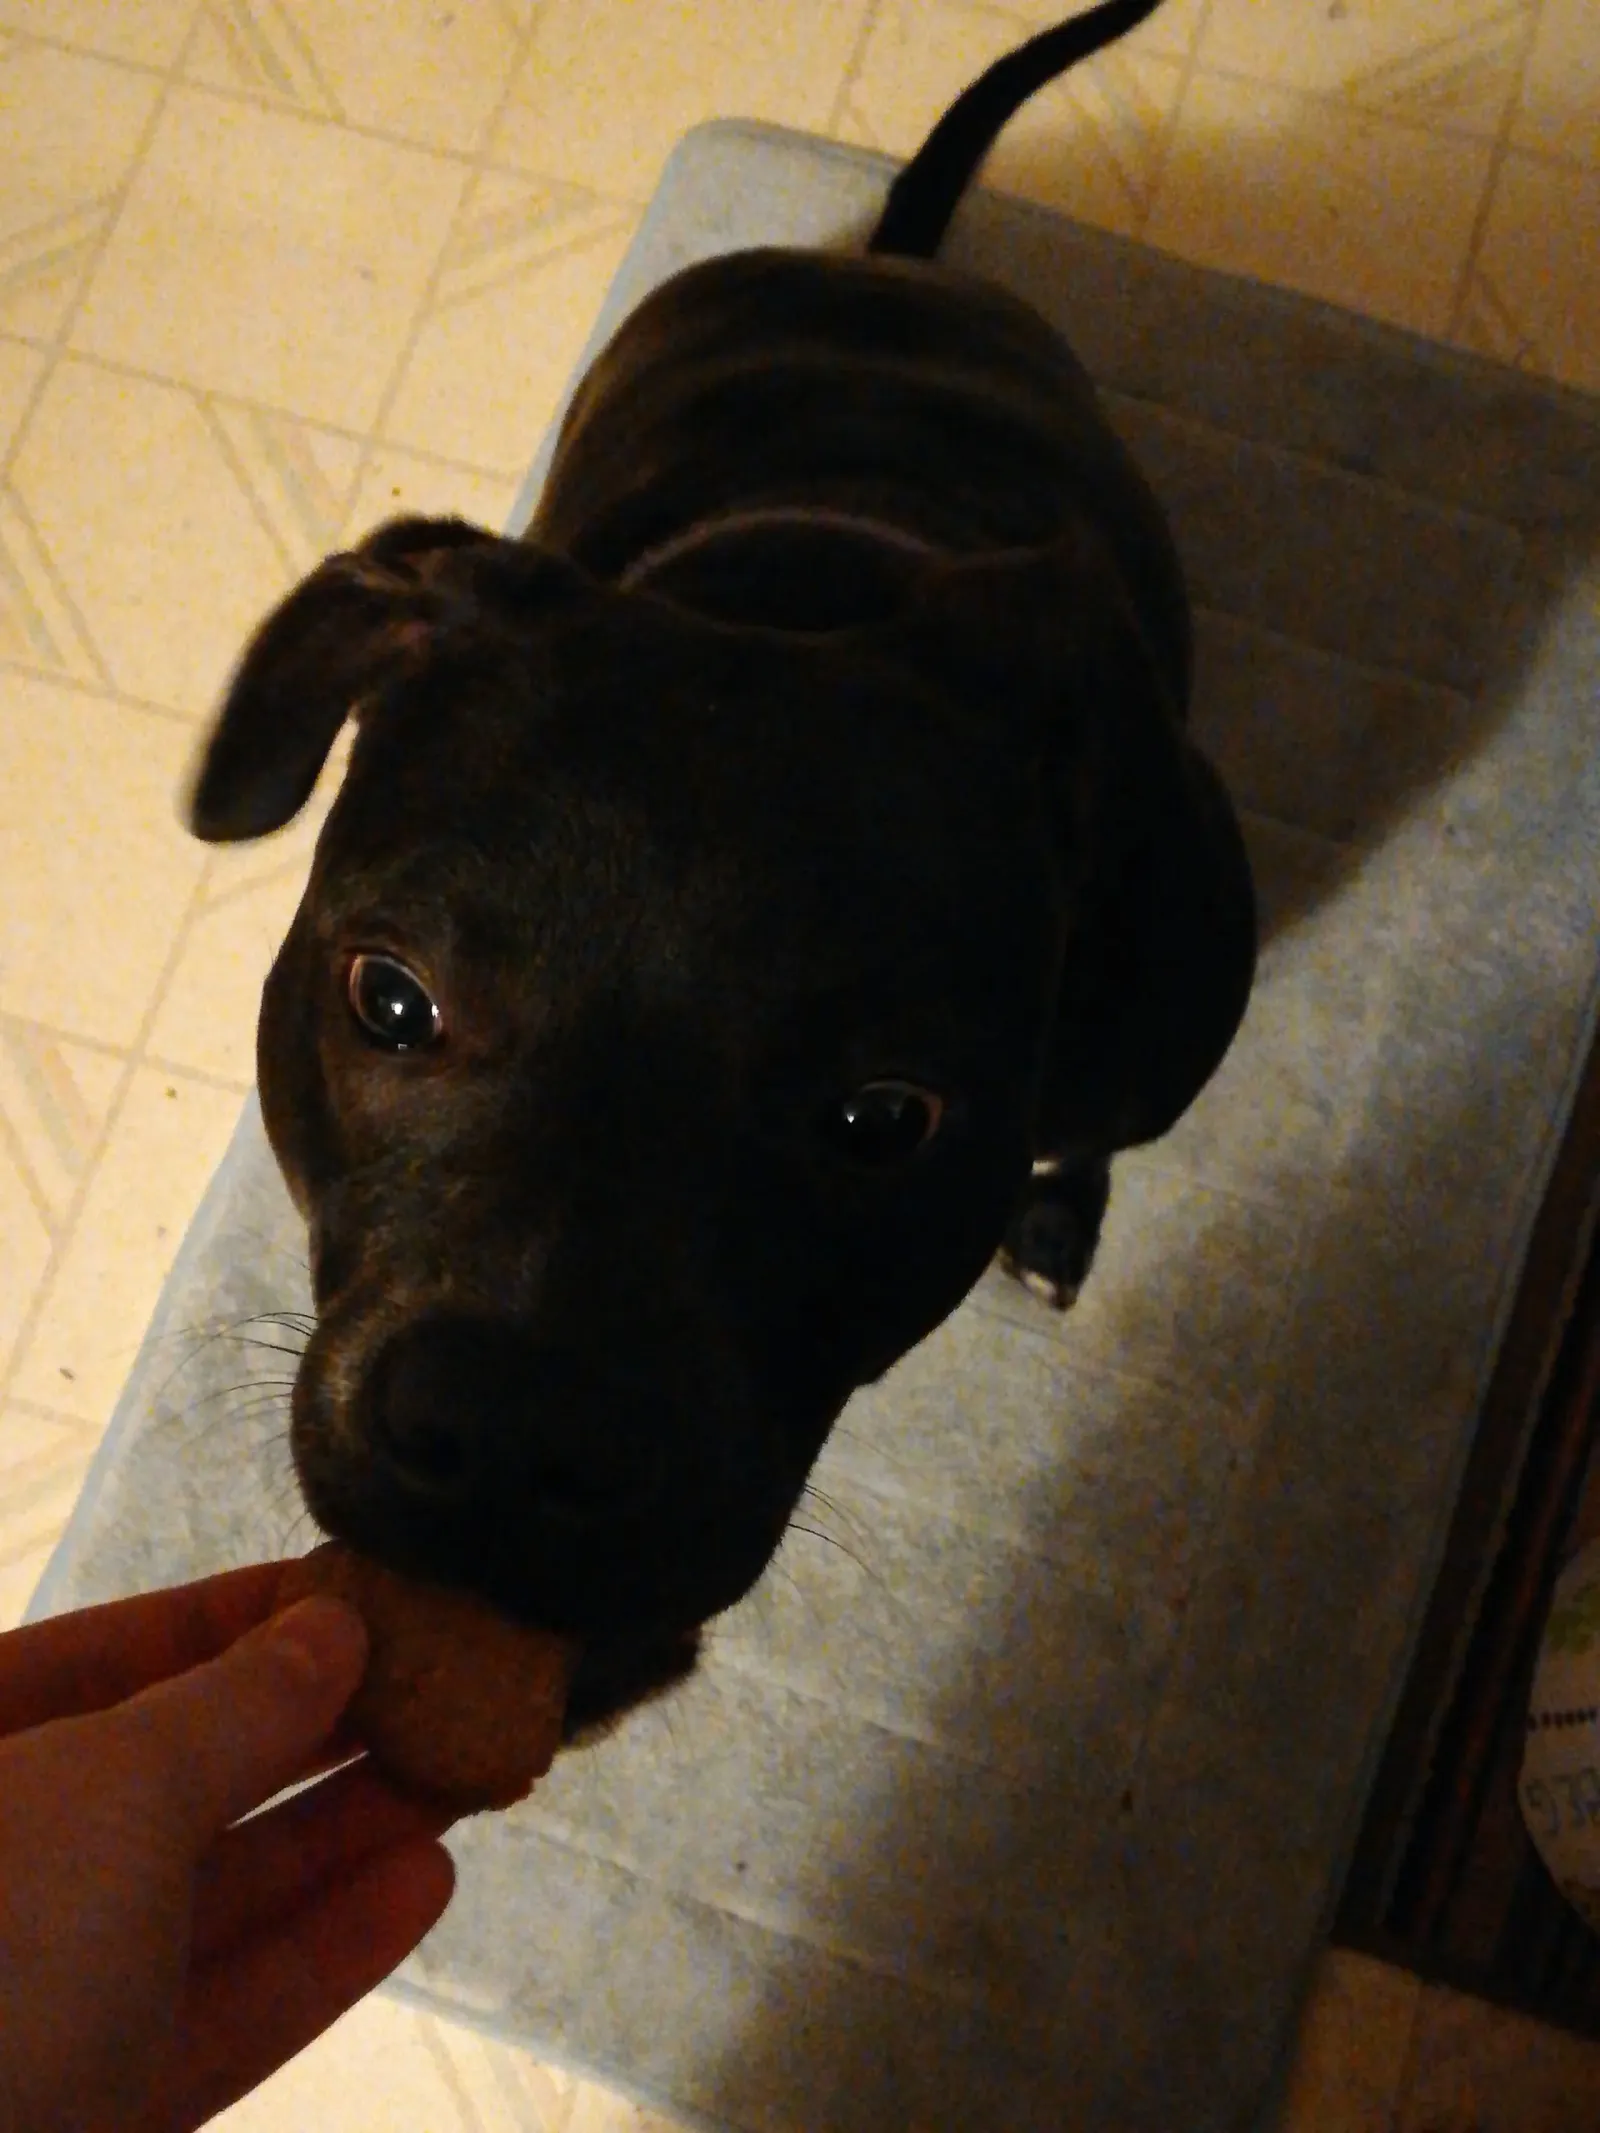
Puppy approved!
Sources
- Can Dogs Eat Oatmeal? Is Oatmeal Good for Dogs? Can dogs eat oatmeal? Though you can share the snack with your canine companion, there are a few things you should know before giving it to him.
- Fruits and Vegetables Dogs Can or Can't Eat – American Kennel Club Do you know which fruits and vegetables dogs are safe for dogs to eat? Fresh, frozen, or canned, learn which fruits and veggies to feed and which to avoid.
© 2019 Jade Hassenplug